The Maya plug-in enables game developers to create, edit, and preview high-level shader language (HLSL) shaders in real-time within Maya. The plug-in also supports exporting a shader into a DirectX .x file.
The plug-in works with Alias Maya version 6.0 and 6.5.
Compatibility Chart
| Direct3D 9 | Direct3D 9 EX | Direct3D 10 | 64-bit Native Mode | Windows XP | Windows Vista |
|---|---|---|---|---|---|
|
Yes |
No |
No |
No |
Yes |
Yes |
The plug-in is installed automatically by the DirectX SDK setup program. There is no need to move or copy files on your machine.
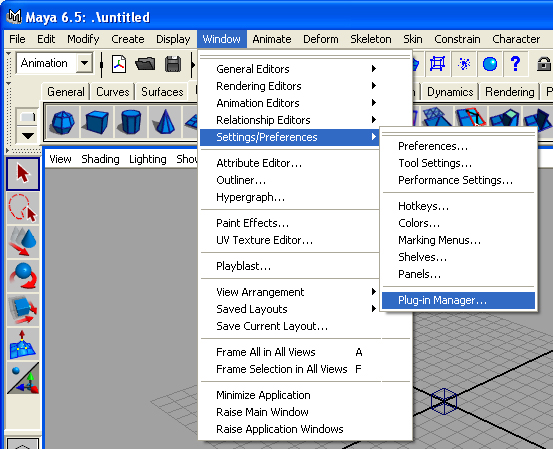
The plug-in is loaded into Maya via the plug-in manager window. This menu is in the top level Window menu, under the submenu Settings/Preferences. Choose the Plug-in Manager option.
In the plug-in manager, scroll down near the bottom to find the D3D exporter plug-in and choose the loaded option to load the plug-in. If you select the auto-load option, the plug-in will be loaded every time Maya is started.
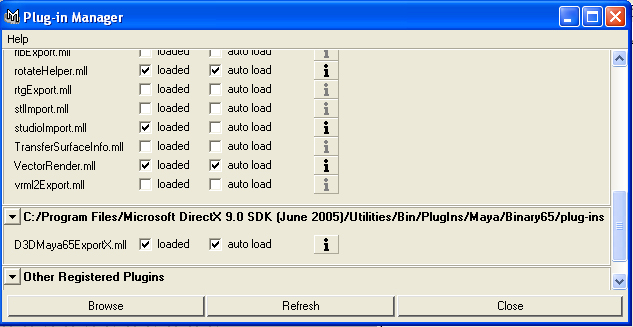
Hint: The D3D Exporter plug-in is named for the version of Maya that you are running: for instance, D3DMaya6ExportX.mll or D3DMaya65ExportX.mll.
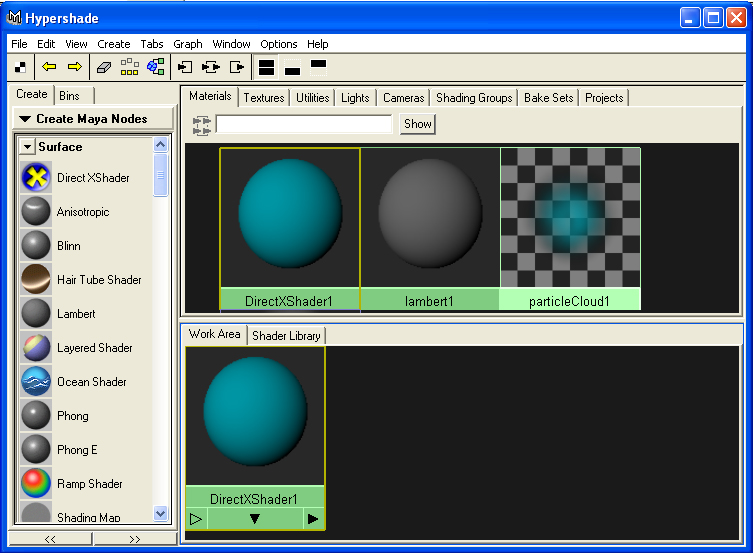
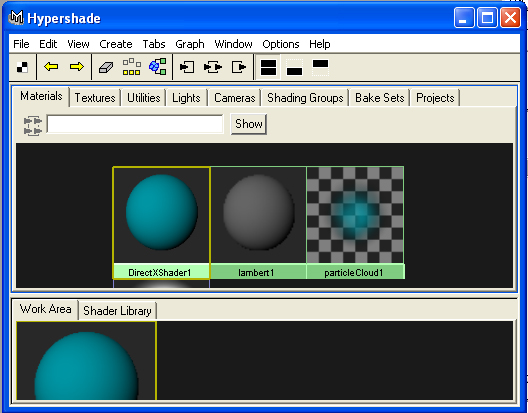
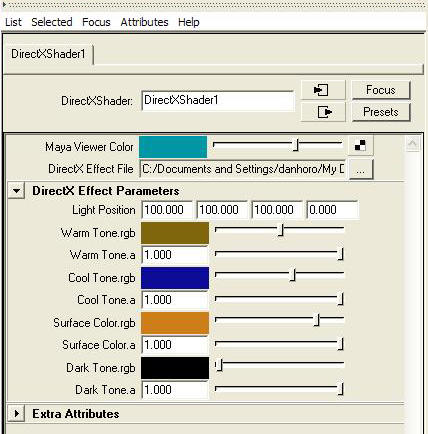
First, to associate your geometry with a effect (.fx) file, create a DirectX material and associate it with the geometry in Maya. Here is one way to create a DirectX material:
You can export geometry, animation, and skinning data to a .x file. First, set up the exporter options from the DirectX menu:
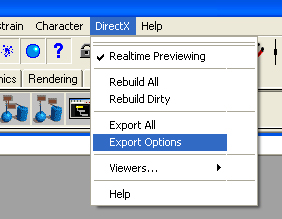
The options are a series of Booleans that determine what type of data is exported. These include:
Once the export options are set, export data by choosing the Export All from the DirectX menu:
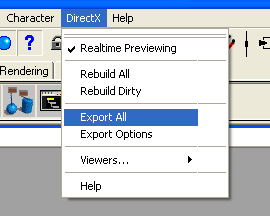
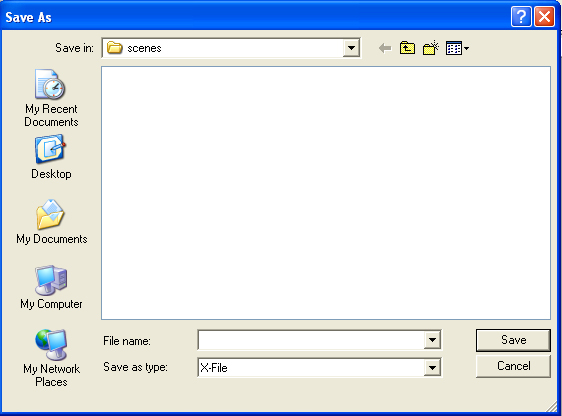
This opens the scene window to allow you to save a .x file. Enter the name of the .x file in the filename text box and click the save button.
Once there is a DirectX shader associated with the geometry, you can view the shader on the geometry in real-time.
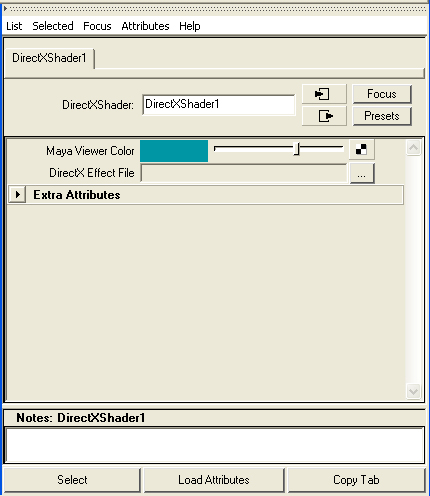
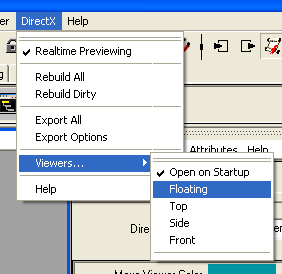
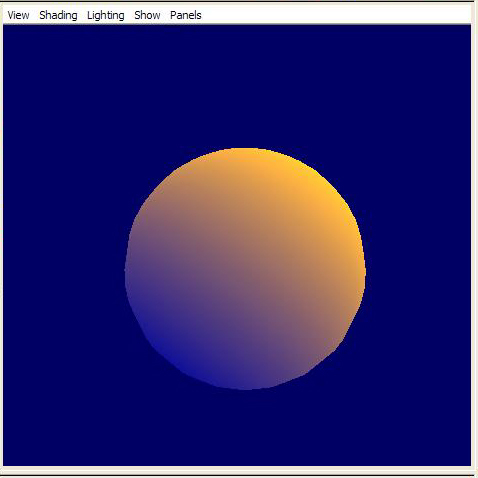
This window displays the scene with the HLSL effect just as it will appear when Direct3D renders it.
Note When nodes not being monitored by the DirectX plug-in are changed, they may effect monitored nodes but because the original change was in an unmonitored node, the rendered output will not update. In this case, select the Rebuild All option from the DirectX menu to update the rendered output and see your changes.