This tool will load and render D3DX effects (*.fx) and 3D mesh objects from DirectX X Files (*.x) that are compliant with Microsoft DirectX Standard Annotations and Semantics (DXSAS). It can be used to verify changes made to .x files and .fx files, and to see how loaded changes to effects or meshes look.
If an effect file or x file changes while it is loaded, the viewer will automatically reload the file. This is especially useful for quickly checking the validity of any effect files as you are modifying them.
For details on DXSAS, see DirectX Standard Annotations and Semantics Reference.
Compatibility Chart
| Direct3D 9 | Direct3D 9 EX | Direct3D 10 | 64-bit Native Mode | Windows XP | Windows Vista |
|---|---|---|---|---|---|
|
Yes |
Yes |
Yes |
Yes |
Yes |
Yes |
To launch the DXViewer from the start menu, click on the Start button and go to:
Programs->Microsoft DirectX SDK->DirectX Utilities->DirectX Viewer
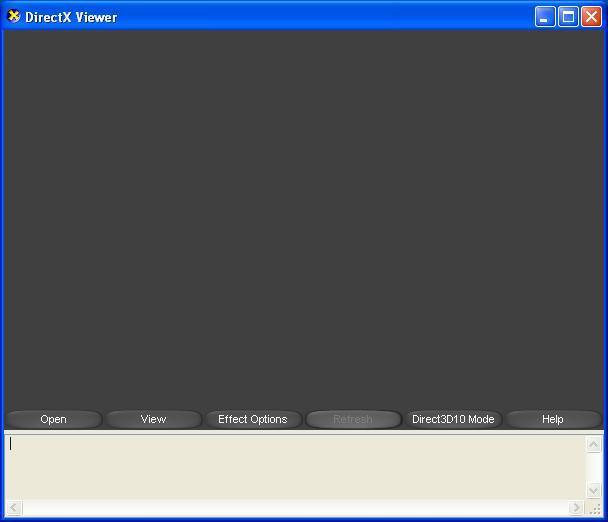
Use this menu to load .x files and .fx files. If an effect file is loaded, it will be rendered onto default geometry, usually a sphere. The .x files and .fx files that ship in the SDK are located under:
(SDK Root)\Samples\Media
Load a file by clicking on the open button:
Figure 1. Open File Dialog
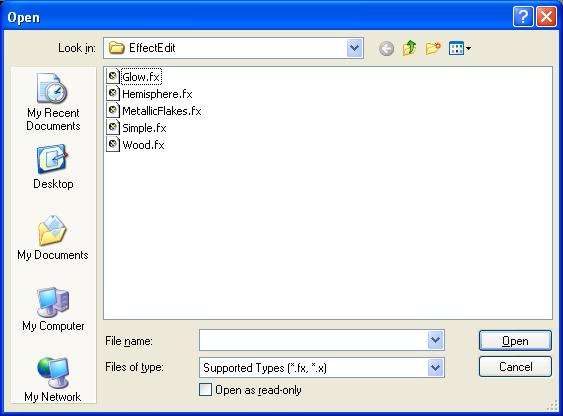
Select a file and click Open. A 3D object will load with the default effect.
Note You may also load .x files or .fx files by dragging and dropping them into the view window.
When opening a file with the CTRL key held down, you can change the model's geometry by selecting an .x file, or change the model's material by selecting a .fx file.
After loading a .x file (or .fx), use the mouse to rotate geometry (left-mouse button) or rotate the camera (right-mouse button). Use the mouse wheel to zoom the camera in or out. Or use the buttons to modify viewer settings; these are covered next.
Push the view button to launch the view button dialog to change how the geometry will be viewed.
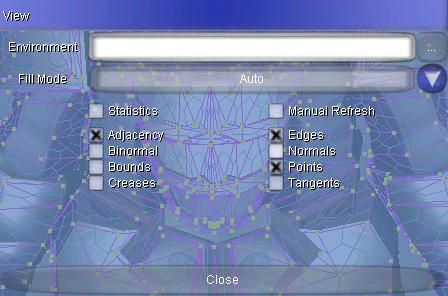
These options are described below:
| View Button Dialog Options | Description |
|---|---|
| Environment | Load an environment map from a dds texture (provided that the currently loaded effect handles environment maps). |
| Fill Mode | Solid, wireframe (or Auto to use the fill mode specified in the effect). |
| Statistics | Displays video card type, frames per second, display format, and other info. |
| Manual Refresh | Refresh the viewer only when the Refresh Button is clicked. |
| Adjacency | Draw adjacency data as dark purple lines. |
| Binormal | Draw binormals (or bitangents) as green lines. |
| Bounds | Draw bounding boxes around the geometry with white lines. |
| Creases | Draw creases as orange lines. |
| Edges | Draw triangle edges as purple lines. |
| Normals | Draw vertex normals as red lines. |
| Points | Draw points as yellow squares. |
| Tangents | Draw tangents as blue lines. |
| Close | Close the menu. |
Push the effect button to launch the effect button dialog to experiment with effect parameters.
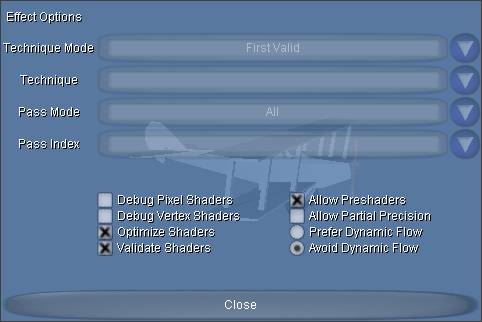
These options are described below:
| Effect Button Options | Description |
|---|---|
| Technique | Select a render technique. |
| Pass Type | Effect pass to render (see the Pass Index also). There are three choices:
|
| Pass Index | Effect pass index. Displays the named passes and indexes for the selected techniques or all available if the first valid technique is chosen for technique. |
| Defines | Specify DXSAS data binding defines for the effects. |
| Includes | Set up include paths that are needed when compiling shaders. |
| Debug Pixel Shaders | Force pixel shading to run on the CPU and enable debug info. |
| Debug Vertex Shaders | Force any vertex shaders to use vertex processing, so they are run on the CPU and enable debug info. |
| Optimize Shaders | Enables or disable shader optimization for the shader compiler. |
| Validate Shaders | Enable or disable HLSL shader validation. |
| Allow Preshaders | Enable or disable preshaders. |
| Allow Partial Precision | Enable or disable partial precision. |
| Prefer Dynamic Flow / Avoid Dynamic Flow | Enable or disable dynamic flow control. |
This button is grayed out unless the user selects manual refresh. Once manual refresh is selected (from the view button), click on this button to render the geometry.
This button will switch the viewer between Direct3D 9 mode and Direct3D 10 mode. Direct3D 10 will only work if the viewer is running in Windows Vista (December CTP Release). In Direct3D 10 mode, only Effects with Technique10 will load. The viewer starts in Direct3D 9 mode by default.
The Help button opens up the SDK documentation.
There are a few additional features:
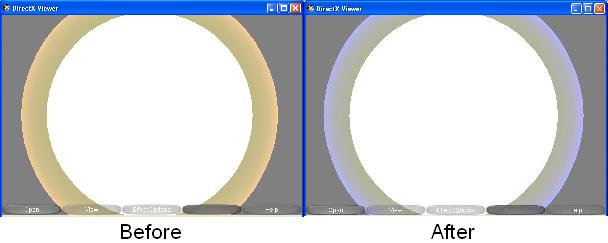
DXViewer automatically detects changes in files that are being viewed, and will reload these files to display results. This allows you to edit a .x file or .fx file while it is loaded in DXViewer, and automatically view the results of the edit.
Here is an example:
Configure the tool using the following command line syntax:
| dxviewer [Switch Options] |
|---|
Use one or more of the following optional switch options:
| Switch Options | Description |
|---|---|
| [-shape cube | sphere | cylinder] | Default geometry. If the user specifies the default shape (-shape) and an .x file (which also has geometry), the default shape will take priority and the .x file will not be loaded. |
| [-Zip] | Debug pixel shaders |
| [-Ziv] | Debug vertex shaders |
| [-Zi] | Debug pixel and vertex shaders |
| [-D string] | List of defines; delimited by semicolons. |
| [-I string] | List of include paths; delimited by semicolons. |
| [filenames] | Optional filenames (either .x or .fx files).
|
DirectX Content Tools, DirectX Standard Annotations and Semantics Reference