This tutorial generates and compares screen shots. Screen shots are a handy way to compare the visual quality differences between an experiment rendered on different device types. The tutorial is divided into the following steps:
This tutorial uses the advanced view to create an experiment with custom triggers and actions. To set up this experiment, choose the ShadowVolume sample as the target program and select the single-frame-capture option for data collection. Modify the experiment using the steps below to save a screen shot rendered on two different device types.
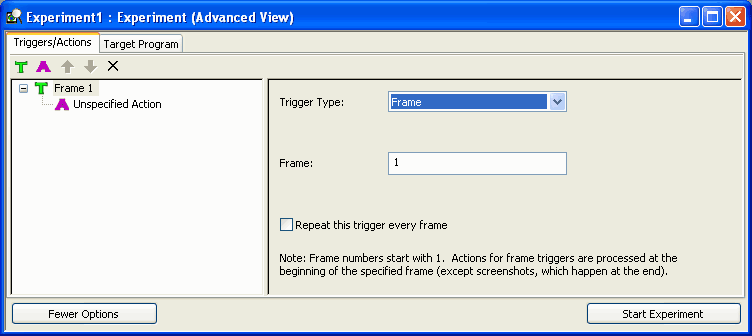
Use an advanced view to create an experiment for capturing a screen shot. Modify the experiment as follows.
Set the trigger event to fire when frame 1000 occurs.
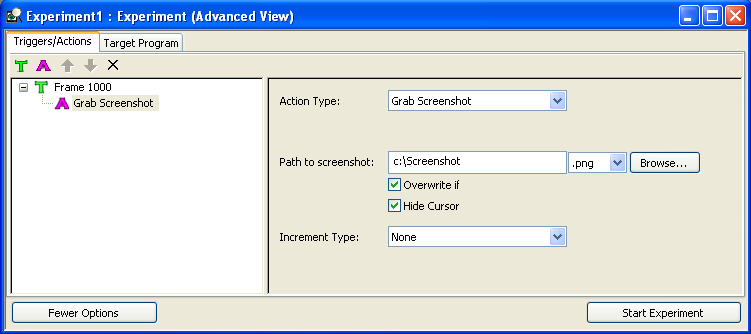
Set the Grab Screenshot action to perform when the event occurs. Enter a file to save the screen shot in using either the browse button, or enter the full path name in the text entry box.
Click Start Experiment to run the sample and capture a screen shot.
Figure 1. Screen Shot on a HAL Device
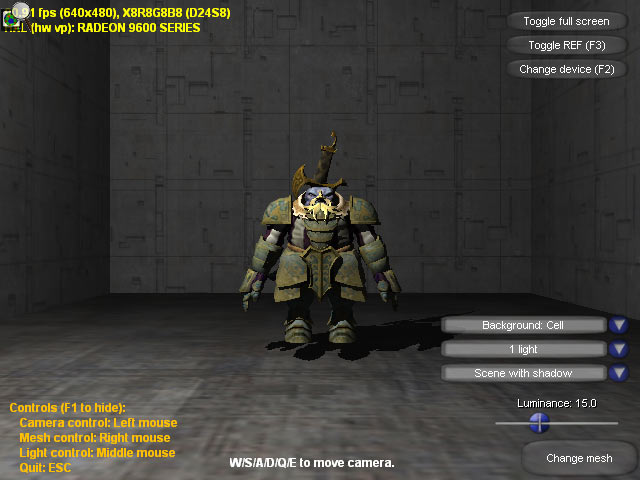
When the frame number exceeds 1000, close the target program to end the experiment. This screen shot is rendered on a HAL device, which is the default type for an experiment.
Use the same experiment to capture a second screen shot. This will require adding a second trigger/action combination to force the target program to run on a reference device.
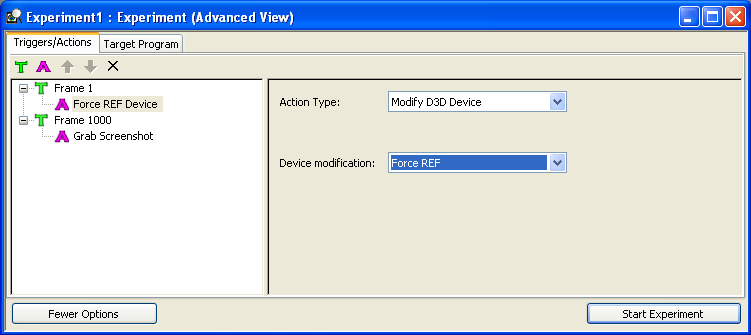
Select the Modify D3D Device action for this trigger. In the Device modification drop down, select Force REF, to force the target program to run on a reference device.
Figure 2. Set a Reference Device

Click Start Experiment to run the sample and capture a screen shot.
Figure 3. Screen Shot on a HAL Device

When the frame number exceeds 1000, close the target program to end the experiment.
At this point, you have two files saved, a screen shot at frame 1000 on a HAL device, and a screen shot at frame 1000 on a reference device. Use PIX to compare the per-pixel data.
To do a visual comparison, select Compare Images from the File menu.
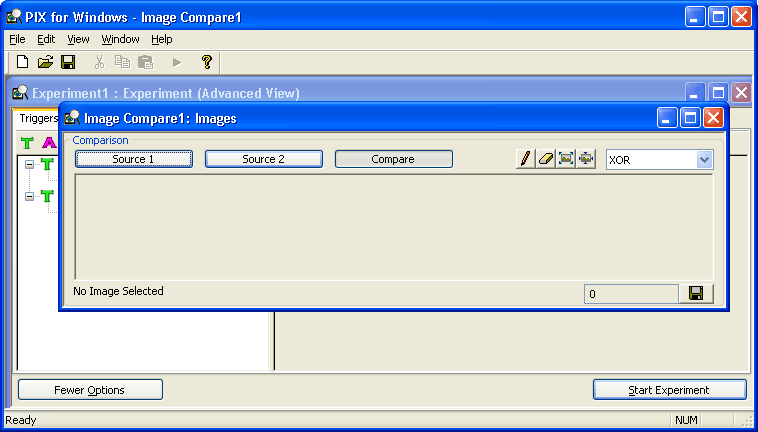
Enter the name and path of the first screen shot in source 1 and the second screen shot in source 2, and click the Compare button.
Figure 4. Compare Per-Pixel Data Visually
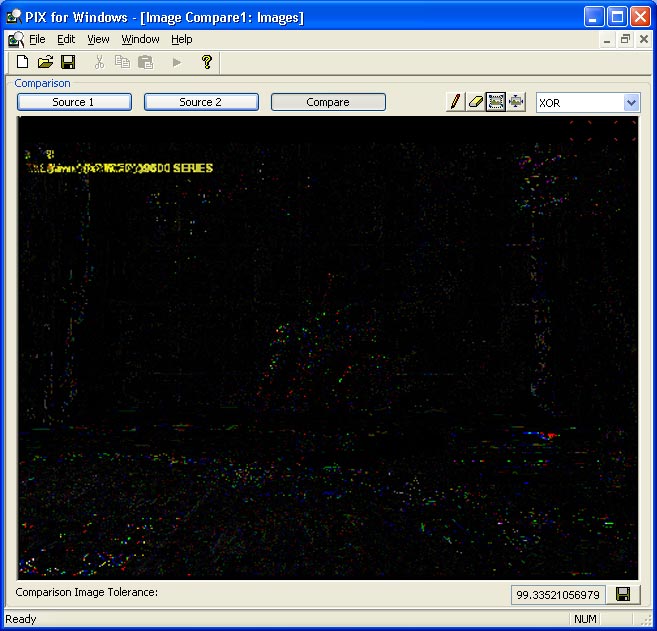
The image comparison shows the differences in RGB values between the two images. Image comparison is supported for the following file types: .bmp, .emf, .exif, .gif, .icon, .jpg, .png, .tif, and .wmf.