This tutorial views depth-buffer data, using a range slider control to adjust the range of the data displayed. The tutorial is divided into the following steps:
To set up this experiment, choose the HDRCubeMap sample as the target program and select the single-frame-capture option for data collection.
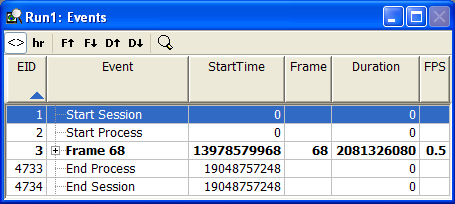
Go to the event view and select the one frame that was captured (68 in this example).
Figure 1. Select a Frame in the Event Window

Render the frame by clicking on the render tab in the details view.
Figure 2. Render the Frame

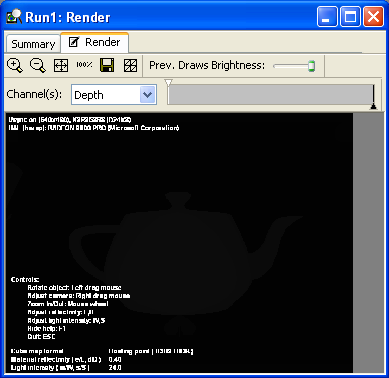
Select depth from the channel(s) drop-down menu to display the z-component of the depth.
Figure 3. Display Depth Data

The image contains a teapot in the center that is almost too dark to see.
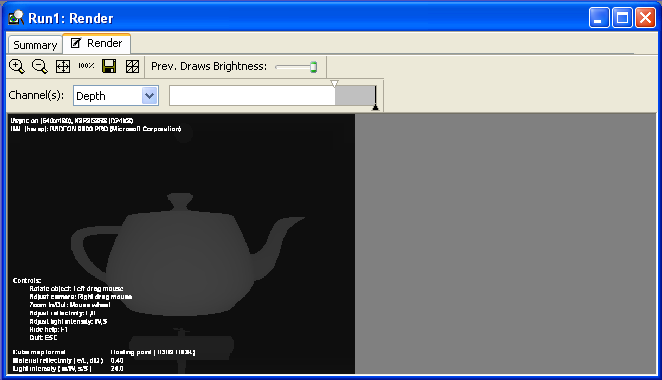
The slider control next to the channel(s) drop down is the channel level slider. The slider gives you control over the threshold of the data to display.
By default, the slider displays all data between 0.0 and 1.0. In this example however, the slider has been set to display only the data between 0.8 and 1.0.
Figure 4. Display Data near the Top of the Range
