This tutorial displays texture data. You can view individual mip levels and further isolate data into components such as color, alpha, or depth. The tutorial is divided into the following steps:
To set up this experiment, choose the HDRCubeMap sample as the target program and select the single-frame-capture option for data collection.
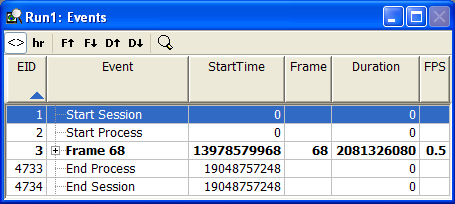
Go to the event view and select the one frame that was captured (68 in this example).
Figure 1. Select a Frame in the Event View
Render the frame by clicking on the render tab in the details view.
Figure 2. A Single Rendered Frame

In the object view set the drop down menus to these values.
| Drop Down | Value |
|---|---|
| Type | D3D9 Texture |
| Created By | Application |
| Format | D3DFMT_A8R8G8B8 |
From the list of textures, double click the second texture in the window.
Figure 3. Select a Texture

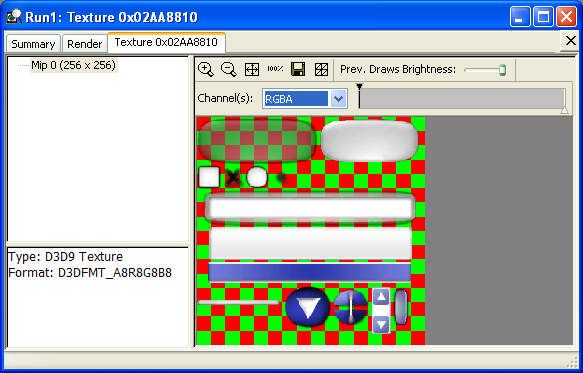
A new tab (named Texture) will open in the details view. The channel(s) drop down contains RGBA which means that all four components are displayed. A checkerboard pattern is shown in the background to highlight which areas of the texture are partially transparent.
Figure 4. Display RGBA Texture Data
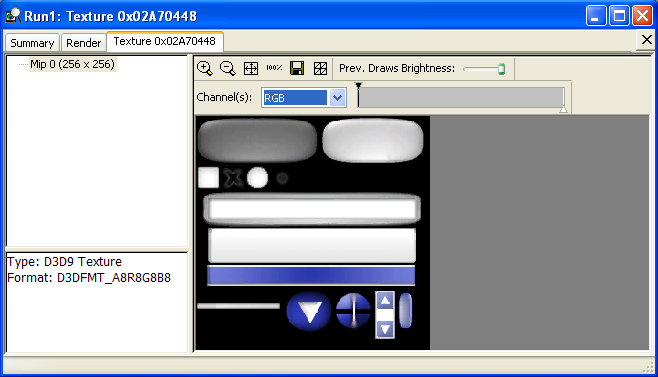
To view color data only, select RGB from the channel(s) drop down.
Figure 5. Texture RGB Data
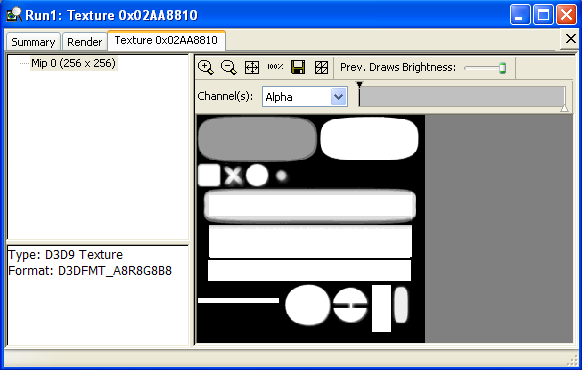
To view alpha data only, select alpha from the channel(s) drop down. The alpha data is displayed as a gray scale image; transparency is darker (the upper left ellipse is nearly transparent), opacity is lighter (the upper right ellipse is nearly opaque).
Figure 6. Texture Alpha Data
The channel(s) drop down has a slider control associated with it. The slider gives you control over the threshold of the data to display.
By default, the slider displays all data between 0.0 and 1.0. In this example however, the slider has been set to display only the data between 0.8 and 1.0.
Figure 7. Control the Range of the Data to Display

To view individual mip levels, go to the object view and set the format drop down to all textures.
| Drop Down | Value |
|---|---|
| Format | All |
With all the textures displayed, find and select any texture with mip levels. That is, double click any texture that has a value greater than 1 in the mips column.
Figure 8. Select a Texture in the Object View

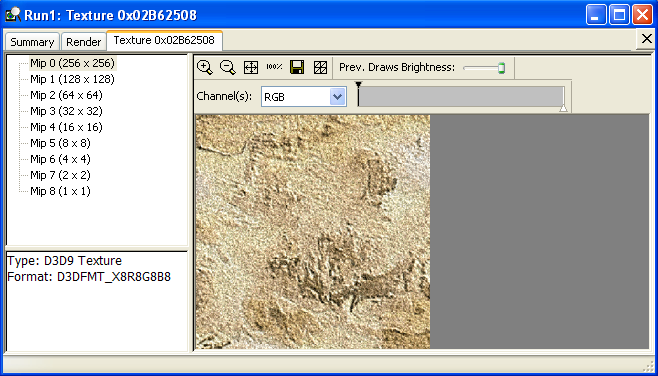
The details view displays the texture you selected, and shows each mip level on the left side.
By default, mip level 0 opens.
Figure 9. Texture with Mip Levels
You can view any mip level by selecting it.
Figure 10. Displaying Mip levels
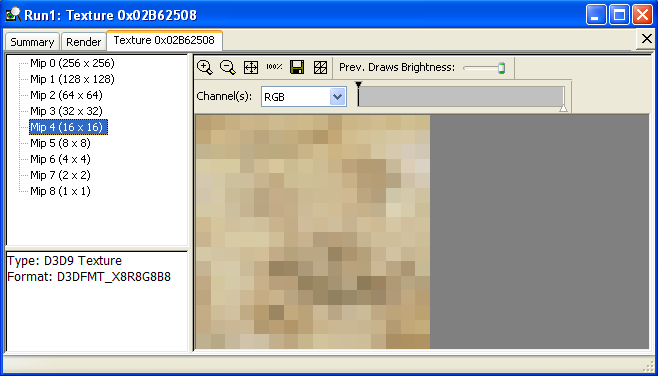
Notice that the texture type and texture format are also listed.