The first step for configuring PIX is to prepare an experiment, which contains information about the target program to analyze and what data to gather. An experiment can be created using a basic view (a good idea if you are new to PIX) or an advanced view (if you are experienced with PIX and want to customize the data collection).
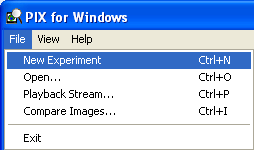
A PIX experiment specifies what application to analyze, and what data to gather while analyzing it. If you save an experiment to an experiment file (.PIXExp), it can be reused. To create an experiment, launch PIX and select New Experiment from the file menu.

By default, the basic view of an experiment opens.
The basic view of an experiment only requires two pieces of information: the target program to profile and how to collect the data. You can either use the browse button to find the target program or enter the full path to the target program in the text box. For help see Collect Data with the Basic View.
The advanced view of an experiment gives you much more control over the data collected and how it is collected. Switch to the advanced view by clicking on the More Options button from the basic view. The advanced view uses triggers (events that fire when you tell them to fire) and actions (the action to take when a trigger fires) to specify what data to collect and how often to collect it. Using an advanced view gives you more control over how an experiment is run. For help see Collect Customized Data with the Advanced View.
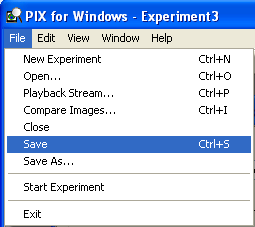
Once you have configured your experiment, you can save it to a file if you intend to reuse it later. You can save changes to an experiment in an experiment file (.PIXEXP) by choosing Save from the file menu.

After the experiment is configured, run the experiment to collect the data.