Recording actions you perform with the mouse or at the keyboard can be a powerful way to write a macro. You turn on recording and perform the actions that you want the macro to execute. You can concentrate on the task that you want to automate, instead of concentrating on the syntax of the macro language.
For example, if you occasionally reverse characters when you type quickly, a macro to switch them back is useful. Before recording a macro to transpose characters, you should think about what you are going to do while recording the macro. To transpose characters, you will select the character at the cursor, cut it onto the clipboard, move over one character, and then paste the character you cut.
·To record a macro that transposes characters:
1.From the Edit menu, choose Set Record.
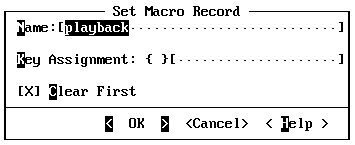
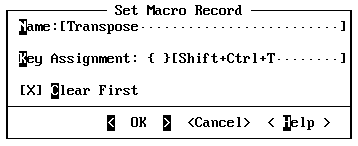
PWB brings up the Set Macro Record dialog box.

2.In the Name text box, type Transpose.
3.Click the mouse in the key box (between the braces { }), or press TAB until the cursor is in the key box.
4.Press CTRL+SHIFT+T (for transpose).
PWB automatically fills in the name of the key you pressed.

5.Press TAB to leave the key box, and then choose OK.
PWB closes the Set Macro Record dialog box. When you turn on macro recording, PWB records a macro called Transpose and associates it with SHIFT+CTRL+T.
Important:
The Set Macro Record command does not start the macro recorder. It only specifies the name and key association for the macro you are going to record.
6.From the Edit menu, choose Record On.
When you choose Record On, the macro recorder starts. To indicate that the macro recorder is running, PWB displays the letter X on the status bar. Notice that the Project, Options, and Help menus are unavailable while PWB is recording a macro.
7.Select the character at the cursor by holding down the SHIFT key and pressing the RIGHT ARROW key.
8.Press SHIFT+DEL to cut the character onto the clipboard.
9.Press the RIGHT ARROW key to move the cursor to the new location for the character.
10.Press SHIFT+INS to paste the character from the clipboard back into the text.
11.From the Edit menu, choose Record On to stop the macro recorder.
Press SHIFT+CTRL+T to switch the character at the cursor with the character to the right. You can now use the new macro and key assignment for the rest of the PWB session.
·To edit the macro:
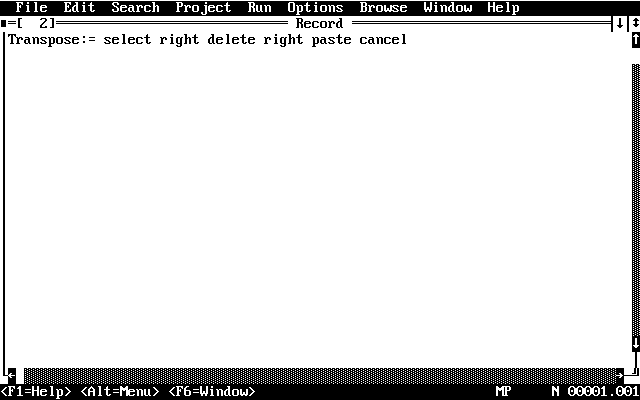
 From the Window menu, choose Record from the PWB Windows cascaded menu.
PWB opens the Record window.

The Record window shows the definition of the Transpose macro that you just recorded. You can edit the definition to change the way the macro works. For example, you decide that the macro should reverse the character at the cursor with the character to the left, instead of the character to the right.
·To redefine the macro:
1.Change the macro to read as follows:
Transpose:=select left delete left paste
2.Move the cursor to the macro definition.
3.Press ALT+=, the default key for the Assign function.
Assigning the macro replaces the previous definition of Transpose with the new definition.
4.Return to the file you were originally viewing.
Up to this point, the macro exists only in memory. To use your recorded macro for subsequent PWB sessions, you must save the definition of the macro to disk.
·To save the macro:
1.If the Record window is not open, choose Record from the PWB Windows cascaded menu.
PWB opens the Record window.
2.From the File menu, choose Save.
PWB inserts the macro definition and the key assignment into your TOOLS.INI file for future sessions. When you leave PWB, you are prompted to save TOOLS.INI. Your changes are not permanent until you actually save TOOLS.INI.