 To start SQL Transfer Manager and connect to source and destination servers
Before starting SQL Transfer Manager and connecting to source and destination servers, make sure that the SQL Server service is started on both servers. Review a service's status¾and if necessary start it¾using SQL Service Manager from the Microsoft SQL Server 6.0 program group.
A source server can be a Windows NT-based Microsoft SQL Server, a Microsoft SQL Server for OS/2, or a non-Microsoft-based SQL Server. A destination server can only be a Windows NT-based SQL Server.
 To start SQL Transfer Manager and connect to source and destination servers

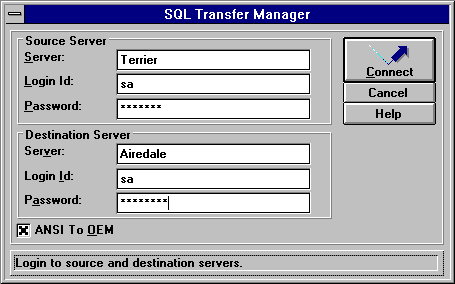
The SQL Transfer Manager Connect dialog box appears.

Note If the source server is a Windows NT-based SQL Server, the destination server can be the same server as the source server. The supplied login ID must be the database owner of the destination database
The ANSI to OEM box is checked if the DB-Library "AutoAnsiToOem" option is set on in your system. If this box is checked, TEXT values will be converted during the transfer. Clear the check box if you do not want TEXT values to be converted.
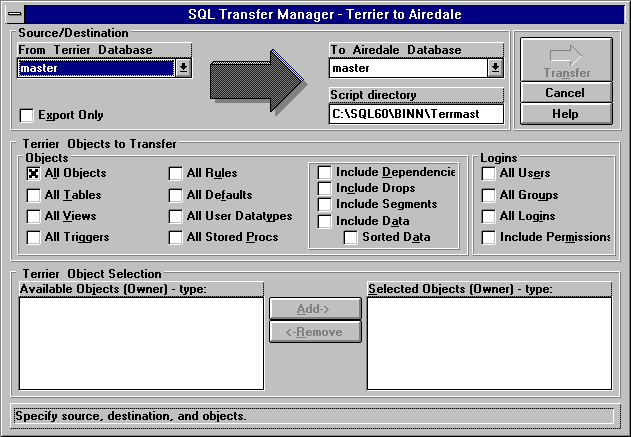
The SQL Transfer Manager window appears.

For more information, see Transferring Objects and Data Using SQL Transfer Manager, next in this chapter.