 To set up the server computer as a Microsoft Windows NT Mail client
To enable SQLMail functionality for a server, you will:
The procedures that follow describe how to accomplish these tasks.
Note As a prerequisite to setting up a SQLMail client, a Mail post office must already be available. If one is not, see Setting Up a Mail Post Office, later in this chapter.
 To set up the server computer as a Microsoft Windows NT Mail client

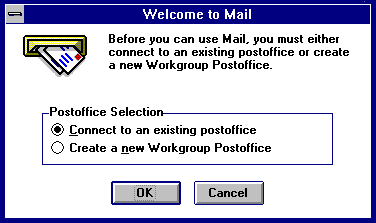
The Welcome to Mail dialog box appears.
The Connect to Postoffice dialog box appears.

For example:
\\airedale\wgpo
A dialog box appears, asking whether or not you have an account on the post office.
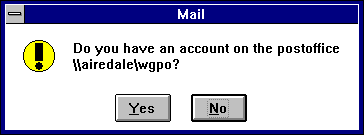
After you sign into an existing mail login account, skip to step 7.
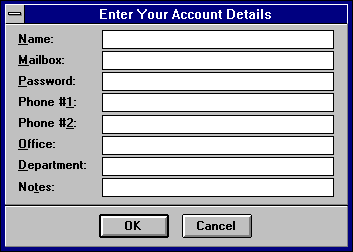
Normally, this would be the full name of a user of this computer. For example:
John Q. Public
However, in this case, it is recommended that you consider creating a mail account especially for SQL Server. For example, if the local server is named TERRIER, you might enter:
SQL Server Terrier
Normally, this would be a variation of the user's full name. For example, to represent "John Q. Public" you might enter:
JohnQP
Or for a mail login that will be used by the local SQL Server, you might enter:
terrier
casey86
The server is configured as a Mail client, the mail login account is created, and the Mail window appears.
For information about sending and receiving messages, see the online Help for Mail.
For information about setting options, see the online Help for Mail.
Once the server is set up as a Microsoft Windows NT Mail client, you can set up SQLMail by using SQL Setup.
 To set up SQLMail
You will specify the name and password of this Mail login account in step 7 of this procedure.
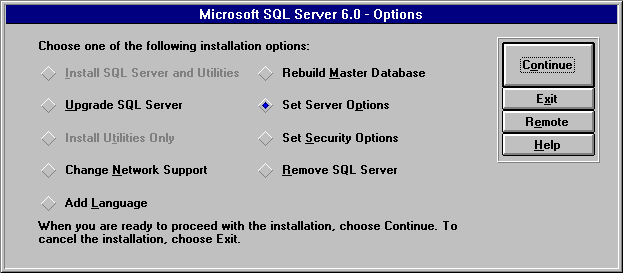
The Select Server Options dialog box appears.
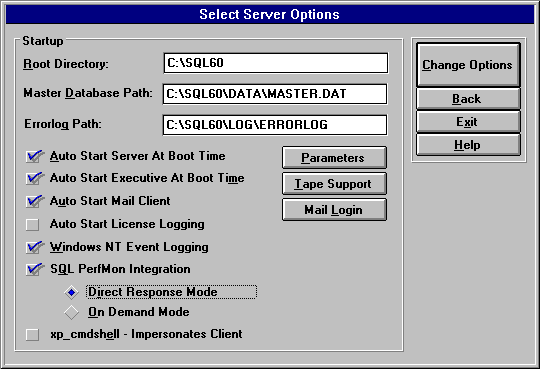
The Mail Login dialog box appears.
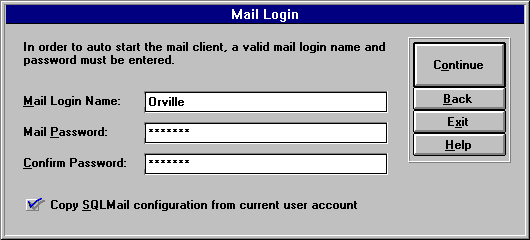
If you have configured SQL Server to start SQLMail sessions automatically, you must supply a mail login name and password. If you will be starting mail sessions manually (by using xp_startmail), you can optionally supply your login name and password in this dialog box so that you do not have to type it at the command line. (Note that SQLMail will "piggyback" an existing client session of Mail, if one is running.)
Note If at any time the Windows NT Mail password is changed, you will need to change the password here as well.
This copies the post office location and mail options of the user you set up the Windows NT Mail client for previously. The settings are copied to the Default User.
Even if you don't use the Mail Login dialog box to save a Mail username and password, you must select this option when setting up SQLMail for the first time. Thereafter, the check box does not need to be selected unless you have changed your Mail client configuration information.
The Select Server Options dialog box returns.
The new settings are processed.
After SQLMail is installed, by default the SQL Executive service will automatically attempt to start the SQLMail session every time SQL Executive starts. This behavior can be controlled through a Registry value.
HKEY_LOCAL_MACHINE
\SOFTWARE
\Microsoft
\MSSQLServer
\SQLExecutive
Name: MailAutoStart
Type: REG_DWORD
Data:
If the value is set to 1, SQLMail auto-starts when SQL Executive starts. If the value is set to 0 or the Registry key does not exist, SQLMail does not start when SQL Executive starts. The default is 1.