
The material in this session assumes that you meet the following prerequisites:
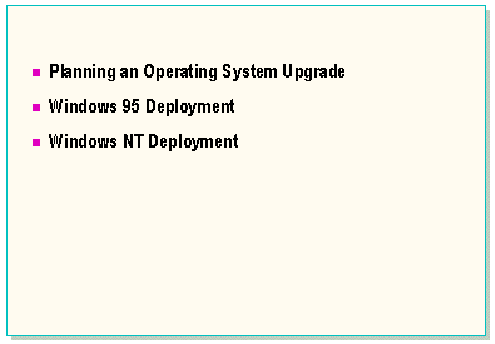
At the end of this session, you will be able to:
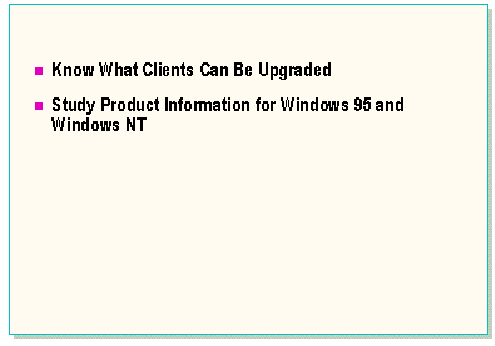
A major key to successful upgrades is knowledge of what can and cannot be done, and a clear picture of your desired end result.
It is essential that you understand SMS product and client limitations and are completely familiar with the Windows 95 and Windows NT setup programs.
SMS provides the delivery mechanism, not the installation technology. For a fully automated upgrade, you need to supply the appropriate unattended answer files. If you are unable to do a fully automated install or upgrade from a command line, then SMS will not be able to do it either.
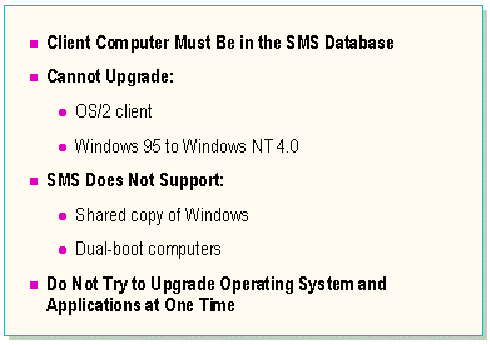
The target client must be participating in the SMS site. Inventory must be as current and up-to-date as possible.
It is not possible to upgrade OS/2® clients to either Windows 95 or Windows NT.
It is also not possible to upgrade Windows 95 to Windows NT 4.0. If an upgrade path does not exist without SMS, then it also will not work with SMS. It is possible to upgrade MS-DOS® operating system version 5.0 or later, Windows 3.1x, and Windows for Workgroups 3.1x operating system with integrated networking to either Windows 95 or Windows NT.
SMS does not support shared or networked Windows installations. If you have a shared or network version of Windows and wish to do an upgrade with SMS, consider rolling back the clients to MS-DOS.
SMS also does not support a single computer with more than one operating system installed on it. These are known as dual-boot computers. If you have dual-boot computers in your environment and want them to be SMS clients, you must choose the operating system under which you will install the SMS client and make it your primary operating system. SMS client functionality will not be available under the secondary operating system.
In most cases, it is not possible to upgrade the operating system and applications in one package. Remember, if you cannot get it to work from a single command line, it will not work through SMS.
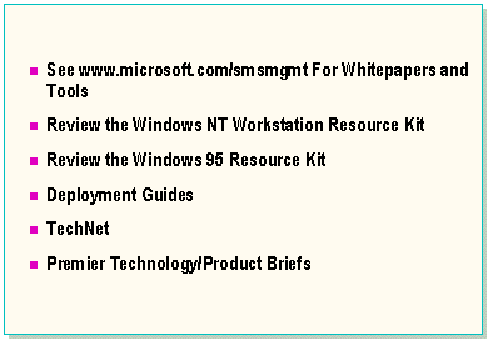
There are several sources of information for installing Windows 95 and Windows NT. Information and materials are updated regularly on the Systems Management World Wide Web (the Web) page. Current white papers of interest are:
The Windows NT Workstation and Windows 95 resource kits contain invaluable information on the setup process of the products, including customization information.
There is a Deployment Guide for both Windows NT Workstation and Windows 95. These documents go further in identifying potential pitfalls and giving step-by-step scenarios and examples.
The TechNet compact disc contains the latest bulletins, white papers and Knowledge Base articles. Make sure there are no known issues with your upgrade plans.
The Microsoft Premier Technology News Flash may include information such as common questions and answers, case studies, and Knowledge Base articles.
In addition, other Internet resources may have helpful information for you. Spend a few minutes browsing the Web to see if there are any news groups or Web sites which may help you.
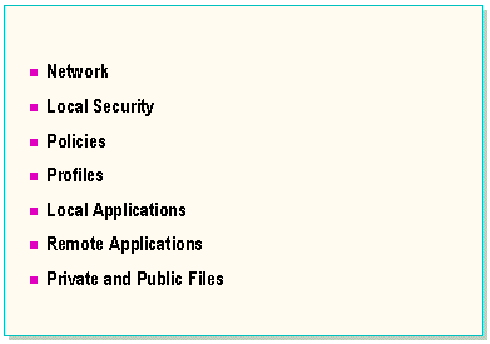
There are multiple configuration options for both Windows 95 and Windows NT. It is very important to identify the configuration(s) that suit your environment and needs before you begin. You should create written specifications for both Windows 95 and Windows NT Workstation 4.0 before commencing any other work. Items to include and consider follow:
Setup options
Determine the extent to which you want to allow users to setup and configure their own environment during initial install. For example: Do you want the user to setup the Microsoft Exchange mailbox using the Microsoft Exchange Wizard at time of setup? Do you want to fully automate the setup?
Networks
Address all aspects of Windows 95 and Windows NT Workstation 4.0 networking options. For example: Default protocol, redirector, and services, and, additional protocols, redirectors, and services.
Local security
Address all aspects of Windows 95 and Windows NT Workstation 4.0 local security options. For example: Will the users have access to their C drives? Will you require users to use local password protected screen savers?
Policies
Address all aspects of Windows 95 and Windows NT Workstation 4.0 policy options. For example: Are policies currently in use? How many groups of users are there, and to which parts of the desktop will you allow access for each of these user groups?
Profiles
Address all aspects of Windows 95 and Windows NT Workstation 4.0 profiles. For example: Is it important for a user to see his or her normal desktop environment when working on another computer? Will hardware profiles be required?
Local applications
Address aspects of locally installed applications. For example: Which applications in addition to the operating system will be stored locally on all desktops? Will an anti-virus program be installed locally on all desktops?
Remote applications
Address aspects of network applications. For example: In addition to the operating system, which applications will be delivered from remote network servers? Will you install Microsoft Office 97 office suite on a network server for desktop users? Do you have applications that require Open Database Connectivity (ODBC)?
Private and public data
Address the storage of public and private data. For example: Will you give desktop users access to network servers with private data stores, access to shared data stores, or both?
Once you have considered all of the previous points, create a specification document for each operating system and configuration. This document will be used as a guideline for the rest of the project.
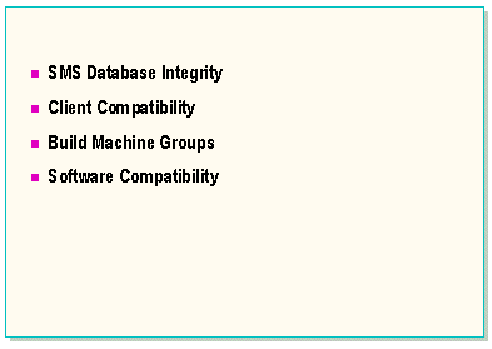
Whether you are upgrading from Windows for Workgroups to Windows 95 or simply updating Windows NT clients to a newer version, there is a basic process to follow and common issues to resolve.
The success of an operating system upgrade depends on the accuracy and completeness of the list of target computers in the SMS database. If computers in the list have incompatibilities in software or hardware, the upgrade will fail. If the SMS database is not accurate or complete, computers that should be upgraded may be missed.
The administrator should take the following steps to ensure an accurate list of target computers:
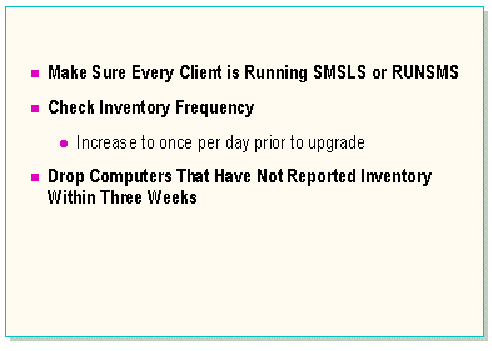
Target computers are determined by querying the SMS database. Even if your queries are perfect, you will not get accurate results if the integrity of the SMS database is not maintained. There are three areas you should check to make sure the database is completely up to date.
Make sure each client runs SMSLS or RUNSMS
Users should have the Smsls.bat file in their logon script or they should run Runsms.bat. If one of these files is not run, SMS is not installed on the client computer and inventory is not collected. Make sure users are not exiting out of the logon script before inventory collection can be completed. For Novell® NetWare® users, Smsls.scr should be added to the system login script.
Check inventory frequency
It is important that the computer inventory is up to date in the SMS database before you run a query for target computers. It is recommended that you increase hardware inventory collection frequency to once per day. Also, check to make sure your users are logging on at least once per day. You may have users who log on once and stay logged on for several days. Inventory is only collected at logon, through the logon scripts, or when the user runs Runsms.bat.
Drop unused computers from the database
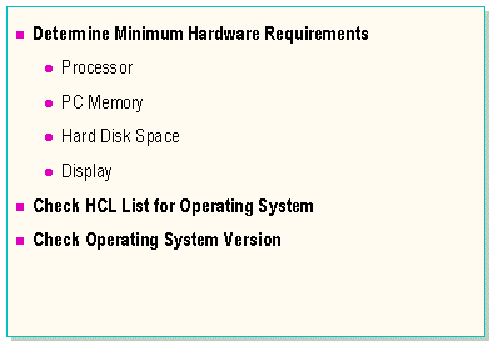
Build a basic query to find computers that meet the hardware requirements for the operating system you are upgrading.
Consider what parameters the hardware needs to meet with respect to:
Also, if you have client computers that are not on the hardware compatibility list (HCL) for the operating system upgrade you are doing, then consider checking for those clients in order to exclude them.
Make sure that the client computer is running an upgradable operating system.
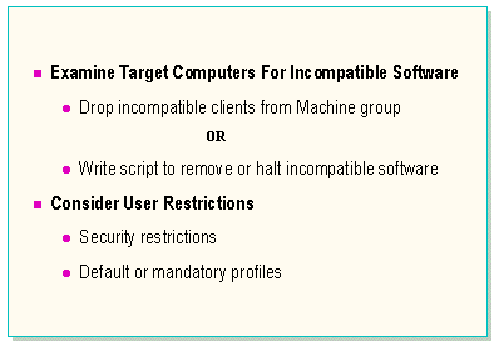
Before upgrading a computer to a new operating system, it is necessary to verify that the target computers do not run software unsupported by that operating system, whether it is Windows 95 or Windows NT. In addition, there are some programs that are supported by the operating system, but that should not be running during setup. For example, many virus-checking terminate-and-stay-resident programs (TSRs) are not compatible with Windows 95 Setup.
For a successful upgrade process, try one of these options:
User restrictions
You may need to build separate machine groups for users with specific needs. For example, if a set of computers is used by outside contractors who have security restrictions, they may receive a different installation than full-time employees.
Also, different departments may use different user profiles that can be established during the operating system upgrade.
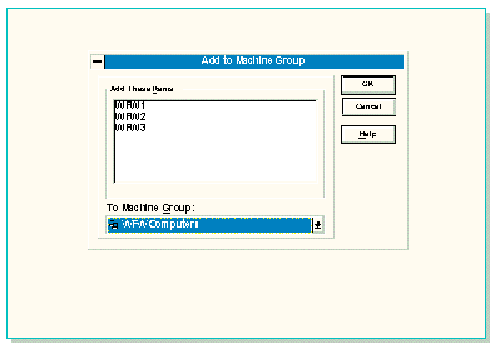
It is possible to run a query and distribute an operating system upgrade job in one step, within the Job Details dialog box. However, by running the query first, you can examine the list of clients that will receive the job and make any changes necessary.
Build a machine group
To build a machine GROUP
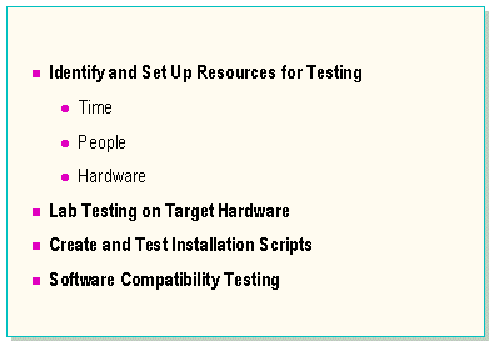
Testing is an investment of time that will pay huge dividends when you carry out the real upgrade. Testing has been proved to make a difference in the success rate you will see. There may be other areas that should have distinct testing phases, but following are three testing phases that should be carried out:
Important Make sure you allocate adequate time, hardware, and people to testing.
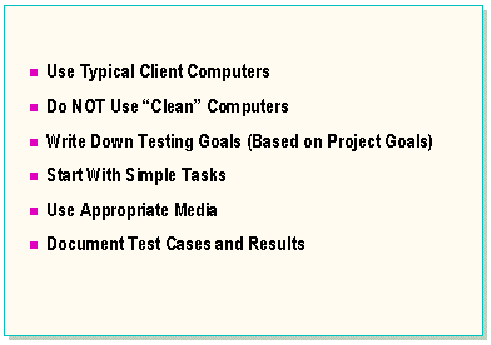
Set up a lab with computers that match the typical target client. Many times installing a new client computer will not identify real-world problems. If possible, backup and restore a few real client computers to work with.
The following guidelines should help you complete a successful lab test:
“Windows 95 should install using our corporate default user profile, with the Microsoft Exchange client, with no user input required.”
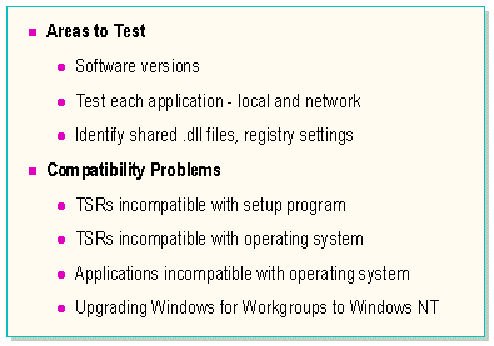
Make sure that any software used on the target clients is compatible with the new operating system.
Areas to test
Consider the following areas in testing for software compatibility:
Incompatible software
There are different categories of software that are incompatible with Windows 95 and Windows NT. Each category has a different solution.
TSRs Incompatible with Windows 95 Setup
There are a few TSRs that cause Windows 95 Setup to fail. These TSRs may run fine once Windows 95 is installed, but should be stopped or removed before the Windows 95 upgrade is run.
TSRs Incompatible with Windows 95
There are certain TSRs that are incompatible with Windows 95. Windows 95 Setup will remove these TSRs from Autoexec.bat.
Applications Incompatible with Windows 95
There are several applications that are not compatible with Windows 95. You may want to determine whether any clients have these applications installed before running the Windows 95 upgrade. You can:
See the Programs.txt file included with Windows 95 for specific information regarding application and TSR incompatibilities.
Upgrading Windows for Workgroups to Windows NT Workstation
If 32-bit file access and/or disk access is enabled on Windows for Workgroups, the Windows NT setup may hang. To disable 32-bit file access (VFAT), edit the System.ini file and remark the following lines from the [386Enh] section:
device=vfat.386
device=vcache.386
To disable 32-bit disk access, edit the System.ini file and remark the following lines from the [386Enh] section:
device=*BLOCKDEV
device=*PAGEFILE
device=*int13
device=*wdctrl
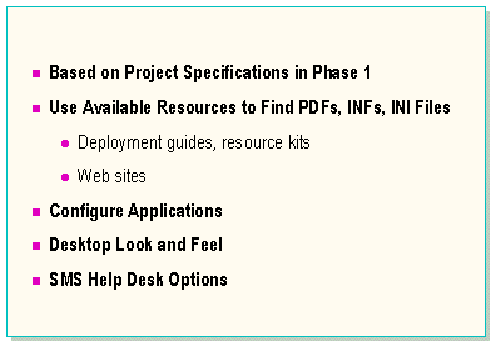
Use the specification document created in Phase 1 to identify the types of installation scripts you need to create and test. The deployment guides and the resource kits provide samples and instructions to define automated and custom setup options. Often, it is possible to find an .inf file for a particular function on the Web.
Do you need to configure the application after it is installed? Is there a way to automate that process?
Develop the desktop look and feel. Do you want to add or remove any applications or desktop icons installed by default? Do you want to add your company logo to the wallpaper?
If creating a fully automated installation script, it is possible to modify the SMS Help Desk options to enable remote control by default. See Knowledge Base article: “Enabling Help Desk Options for MS-DOS Clients” ID: Q122399.
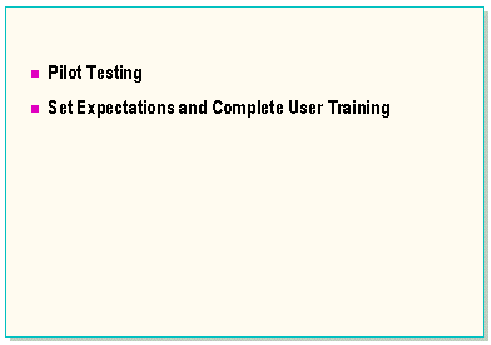
No matter how well the lab testing phase completes, do not skip the pilot test. This is the first time you come into contact with users and they will introduce a complete new set of variables into the process that never came up during testing in an isolated lab.
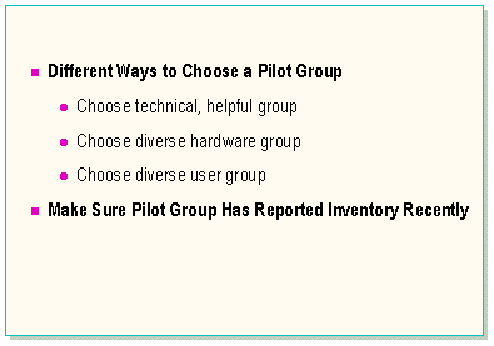
A pilot test is a check against the lab testing. You are in a real production environment, but limit the upgrade to a small set of computers. There are different philosophies about how to choose the pilot group.
Make sure that all computers in the pilot test have recently reported inventory.
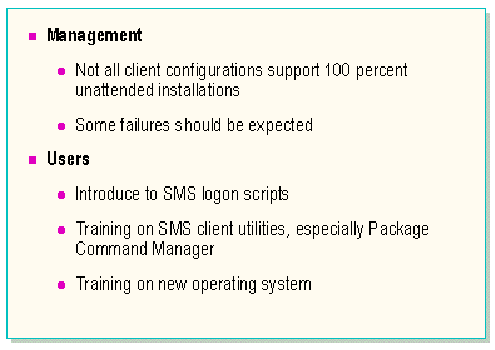
Communication is a vital factor in the success rate of a production deployment. Users who are uninformed may press F3 during a Windows 95 unattended installation, because they did not expect it to happen.
Management
Management personnel should understand that there will be some client computers that cannot be installed automatically and will need to be manually installed. The more and better testing that is done prior to deployment, the lower the failure rate will be.
Some ways to manage failures are:
Users
Users need to be informed in the following areas:
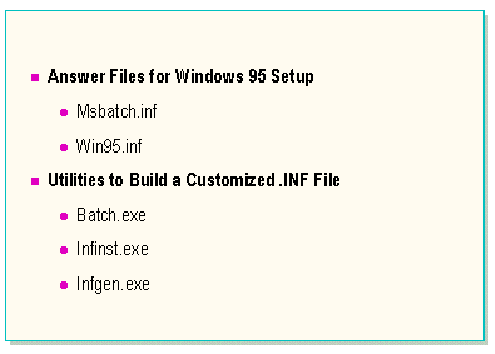
The Windows 95 Setup program uses a setup .inf file. This file provides answers or defines which dialog boxes will appear to the user.
Answer files for Windows 95 Setup
If no .inf is specified, the Msbatch.inf file is used. SMS includes Win95.inf in the \Site.srv\Maincfg.box\Mstest directory. The Win95.pdf ,which ships with SMS 1.2, references Win95.inf.
The Win95.inf file included with SMS has been designed specifically for batch installations using SMS. You can use this file unmodified for a standard, hands-free upgrade to Windows 95. If you want to take advantage of this prebuilt file, but still want to make some changes, the file can be edited manually. The file is well commented and includes most of the common installation options, such as specifying the Product ID, and hands-free installation settings.
Utilities to build a customized .inf File
There are several programs that enable you to create or modify a custom Msbatch.inf format file. Available utilities include:
| Utility | Function | Location |
| Batch.exe |
· Change default Windows installation directory. · Set network options. · Set automatic reboot. · Set uninstall information. · Specify a printer. · Choose specific software components. |
Windows 95 compact disc under Admin\Nettools\ Netsetup |
| Infinst.exe | Take .inf files built for individual components, such as the Policy Editor or additional hardware components, and add them to an existing Msbatch.inf file. |
Windows 95 compact disc under the Admin\Nettools\ Netsetup |
| Infgen.exe | Remove the Inbox from the desktop, removing MSN™ The Microsoft Network Online services from the desktop, or disabling online registration | INF Generator available on the Internet. |
Parameters that you may want to change are documented in the Windows 95 Resource Kit, Appendix D, “Msbatch.inf Parameters.”
Notes regarding Batch.exe
Notes regarding INF Installer
INF Installer (Infinst.exe) requires two directory paths:
Notes regarding INF Generator
INF Generator (Infgen.exe) includes the .INF Installer functionality and adds the ability to set other options, such as removing the Inbox from the desktop, removing MSN The Microsoft Network from the desktop, or disabling online registration. It is also designed to build multiple .inf files when there are user-specific items such as Transmission Control Protocol/Internet Protocol (TCP/IP) configuration settings to be specified. INF Generator requires more setup than INF Installer, as well as some additional input files. If you need the additional functionality, use INF Generator; otherwise, use INF Installer. For more information, see the Infgndoc.doc file included with INF Generator.
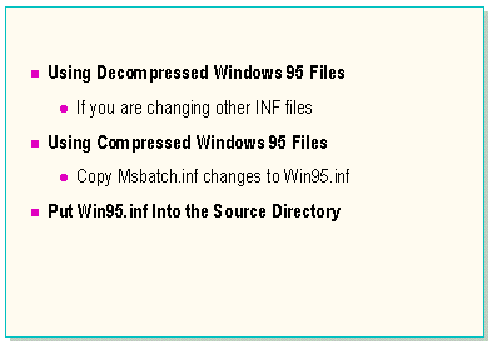
There are two ways to set up the package source: with compressed files or with decompressed files.
Using decompressed Windows 95 files
With the Netsetup program (see the Microsoft Windows 95 Resource Kit for details) you can install a source directory for Windows 95 by decompressing the .cab files and setting the appropriate permissions. This directory can then be used to build a custom Msbatch.inf file. Once this file exists, you can run either of the INF utilities. If you are editing .inf files other than the main .inf file, you will need to distribute the decompressed set of Windows 95 files.
Using compressed Windows 95 files
If possible, you will want to distribute the compressed Windows 95 files because they take about 30 MB of disk space versus 90 MB for the decompressed set.
To use the compressed files:
Put Win95.INF into the source directory
For either a compressed or decompressed source, copy the Win95.inf (or specified Setup.inf file) to the Windows 95 source directory.
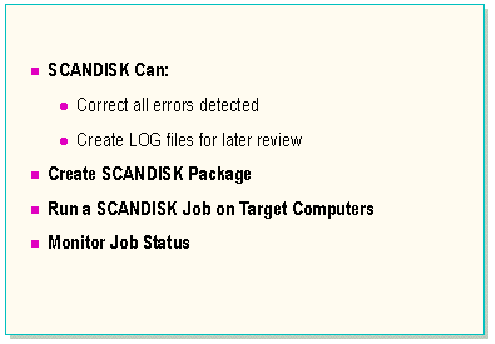
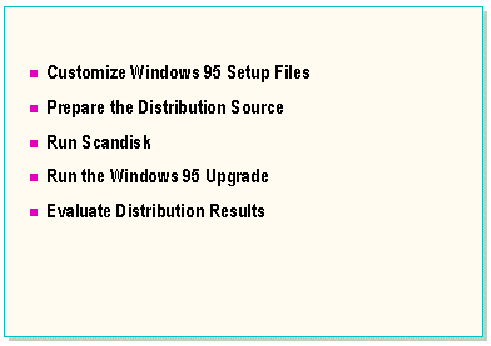
Although Scandisk is normally run by Windows 95 Setup, it is recommended that you run it separately when using SMS to complete the installation. This is because Scandisk can produce message boxes that require user interaction. Scandisk is particularly recommended if the computers to be upgraded are using the DoubleSpace® disc compression utility or Stacker.
To run Scandisk
SCANDISK /all /autofix /nosummary /surface
Where:
/all - all drives
/autofix - fixes errors
/nosummary - does not stop if errors are encountered
/surface - perform surface scan
After the job has had a chance to propagate, you can check on details of the job. In a test situation this could take as little as 30 minutes. In your production network you will need to allow more time.
When the Overall Job Status changes to Complete, the job has been distributed and run on all target computers. The total duration of the job depends on a number of factors, including parameters set for the job and the behavior of your users (who must run Package Command Manager to receive the package).
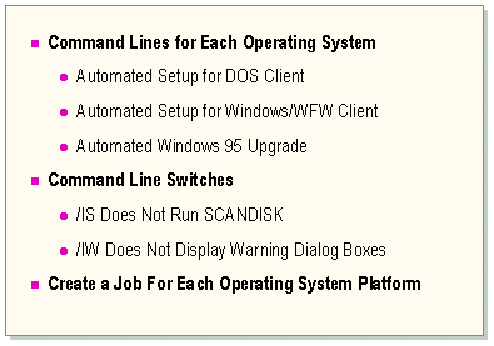
The Win95.pdf is located in the \Primsite.srv\Import.src\language code directory of the site server. The Win95.pdf includes several built-in command lines that provide both manual and automated upgrades of computers running MS-DOS, Windows 3.1, Windows 95, and Windows for Workgroups. These command lines make use of helper programs (Dos2w95.exe, Win2w95.exe, and W95tow95.exe) to fill in values for client-specific items, such as user name or computer name.
Command line switches
The command lines include the following parameters:
How the helper programs work
The helper programs are included with Systems Management Server and are located in the \Sms\Logon.srv\mstest directory. The helper programs follow this process:
The helper programs will attempt to determine default values for the following fields:
If the helper program cannot determine a default value for a required client specific value, the user will be prompted for a value during Windows 95 Setup.
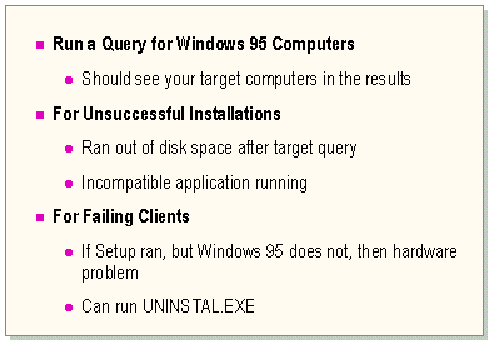
When a Systems Management Server upgrade job completes it indicates that the command has been run at the client computer. It does not indicate whether or not Windows 95 is running successfully on the client computer.
Windows 95 query
Use the Computers By Operating System prompted query to look for client computers that report Windows 95 as their operating system. Make sure that each client inventory has been reported and processed before you run the query. Ideally, the query results will return every computer that received the job. These will be included in the machine group you specified in the Target Computer section of the Run Command On Workstation job.
Unsuccessful upgrades
There are a few reasons for an unsuccessful upgrade:
Windows 95 installed, but fails to run
If the user cannot run Windows 95 on the client computer after an installation, the most likely problem is a hardware incompatibility. Windows 95 Setup is able to complete because it is a simplified version of the operating system; however, the final version may have conflicts with certain hardware configurations. Consult the Windows 95 Hardware Compatibility List for more information.
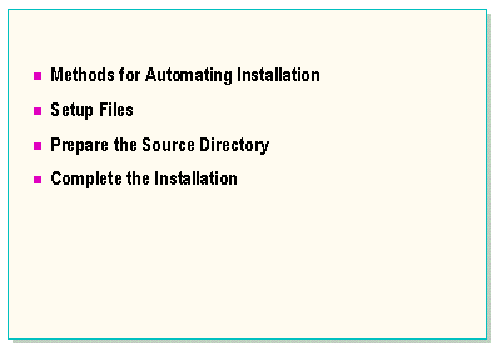
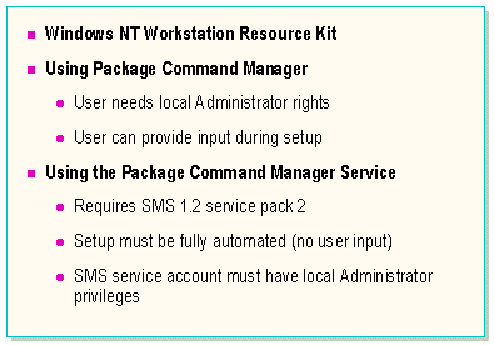
Windows NT Workstation installations can be customized, as well as fully automated. The Package Command Manager service, which runs on Windows NT–based computers, can complete an installation entirely in the background.
The Windows NT Workstation resource kit
The Microsoft Windows NT 4.0 Workstation Resource Kit contains most of the information needed to successfully configure, customize and automate a Windows NT 4.0 deployment.
Using Package Command Manager
By default the Package Command Manager utility (Pcmwin32.exe) is installed on computers running Windows NT Workstation. Any packages that are executed using this utility run in the security context of the user logged in at the time of package execution. To complete a Windows NT upgrade:
Using Package Command Manager service
SMS 1.2 Service Pack 2 supports installing Package Command Manager as a service on Windows NT Workstations. Installation procedures and documentation for the Package Command Manager service is provided with the service pack and is also available on http://www.microsoft.com/smsmgmt. To complete a Windows NT upgrade using this service:
Notes
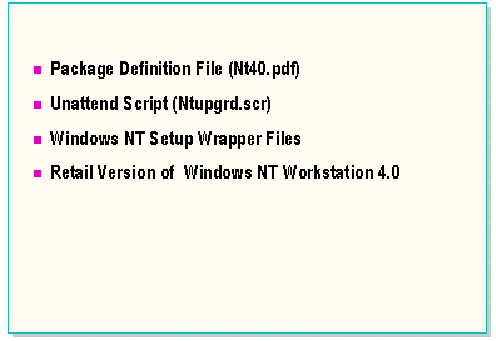
Sending a Windows NT Workstation version 4.0 upgrade job using SMS requires:
Windows NT Workstation Package Definition File
This Nt40.pdf file is located on the Windows NT Workstation 4.0 compact disc in the platform directory of your choice or at: http://www.microsoft.com/smsmgmt/pdfs.htm
Unattend script
Ntupgrd.scr is supplied in the \Sms\Site.srv\Maincfg.box\Mstest directory of an SMS 1.2 installation. This file must be renamed to Ntupgrd.400.
Windows NT Setup wrapper files
SMS 1.1 requires an updated wrapper file, included with SMS 1.2. The wrapper files are operating system and platform-specific and are located in the \Sms\Site.srv\Maincfg.box\Mstest directory. If you do not have access to an SMS 1.2 compact disc, contact Microsoft Technical Support to get a copy of the files.
Wrapper files are as follows:
Retail version of Windows NT Workstation 4.0
A fully licensed, retail version of Windows NT Workstation 4.0 must be used. A limited license, developer edition or OEM version will not work.
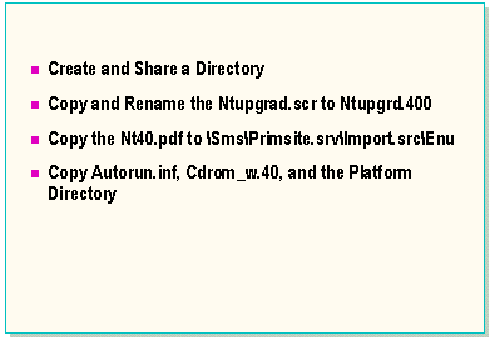
It is possible to use the Windows NT Workstation compact disc as the source for the package, but this is not recommended. The compact disc contains all platform versions of Windows NT as well as the debug symbols for each platform. Keep in mind that SMS requires hard disk space of at least 4 times the amount of the source files to distribute the package.
To prepare the source directory:
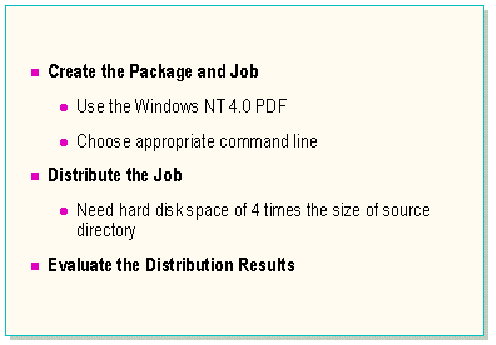
When a Systems Management Server upgrade job completes it indicates that the command has been run at the client computer. It does not indicate whether or not Windows NT is running successfully on the client computer.
Windows NT query
Use the Computers By Operating System prompted query to look for client computers that report Windows NT as their operating system. Make sure that each client inventory has been reported and processed before you run the query. Ideally, the query results will return every computer that received the job. These will be included in the machine group you specified in the Target Computer section of the Run Command On Workstation job.
Test the installation
Test the client install to ensure that the upgrade has been completed successfully. Make sure the computer can:
© 1997 Microsoft Corporation. All rights reserved.
The information contained in this document represents the current view of Microsoft Corporation on the issues discussed as of the date of publication. Because Microsoft must respond to changing market conditions, it should not be interpreted to be a commitment on the part of Microsoft, and Microsoft cannot guarantee the accuracy of any information presented after the date of publication.
This document is for informational purposes only. MICROSOFT MAKES NO WARRANTIES, EXPRESS OR IMPLIED, IN THIS SUMMARY.
Microsoft, DoubleSpace, MS-DOS, Windows, and Windows NT are registered trademarks and BackOffice and MSN The Microsoft Network are trademarks of Microsoft Corporation.
Other product or company names mentioned herein may by the trademarks of their respective owners.