After you add elements to your page, you may want to rearrange and fine-tune their positioning. There are several things you should know about positioning elements on the page:
Tip You can also move align text elements using the toolbar alignment icons.
Note You must select the border of an element in order to move or delete it. When you select the body of an element, the border shows a series of diagonal lines. When you select the border of an element, the border shows gray fill. You can move an element when the gray fill is visible.
When you are designing or editing pages in the designer window, you can work in one of two modes: absolute mode or relative mode:
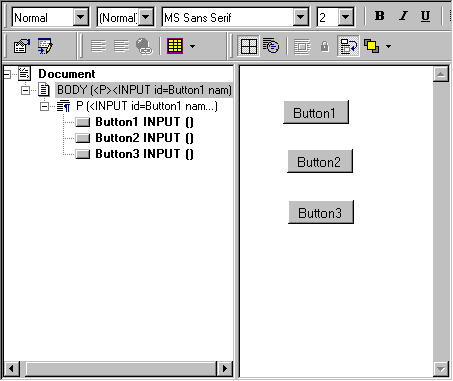
The following screen shows how Visual Basic positions three buttons that are dropped at varying locations on the drawing surface in absolute mode:
Buttons Positioned in Absolute Mode

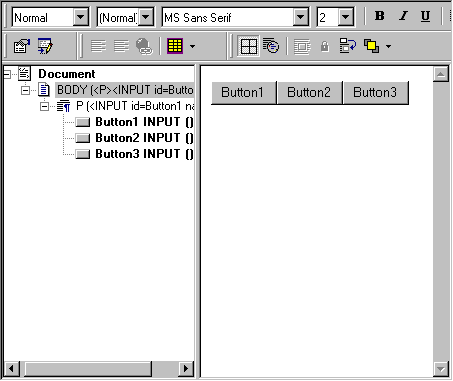
If you were not working in absolute mode and dropped those three buttons onto the screen, they would be positioned as shown in the following screen:
Buttons Positioned in Relative Mode

Absolute and relative mode have advantages and disadvantages. Absolute mode allows you finer control over the layout of your page but is not as flexible as relative positioning. With relative positioning, the page can easily adjust to end users with different viewing environments. For example, if the browser screen is small or the computer's resolution is much lower than that on the development machine, only a portion of your absolutely positioned page may appear to the end user. In relative positioning, the page would dynamically wrap its elements and adjust to the browser's screen space.
To change from absolute mode to relative mode, you select or deselect the Absolute Positioning icon on the toolbar. This sets the mode for the entire page.
Note You can also turn on Absolute Positioning for select items on the page, rather than the whole page itself, by using the Absolute Positioning toolbar icon. Selecting this button affects both the selected element and all subsequently created elements on the page unless you deselect it. It does not affect elements already placed on the page.
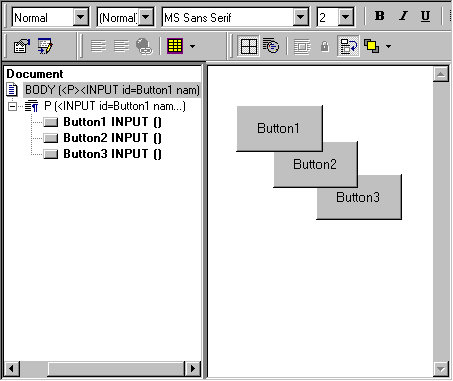
You can layer elements on top of and behind each other using z-order properties. Z-order assigns a sequence number to elements that indicates how elements are layered. For example, the following screen shows three layered buttons.
Buttons Arranged in Layers

In this screen, three buttons have been arranged so that they overlap. Button1 is in the foreground, with Button2 placed behind it and Button3 placed in the back.
You can manipulate the layering of elements that occupy the same space by selecting the element you want to move forwards or backwards and selecting the Order icon on the toolbar for the page.
Z-ordering in DHTML applications is recorded differently than z-ordering in forms. On an HTML page, the body element, or page surface, is considered to have a z-order value of zero. Items that are layered on top of the body have a positive z-order value, and items that are layered behind the body have a negative z-order value.
It is easy to accidentally move an element on your HTML page by clicking on it and moving the mouse. You can prevent an element from being moved by locking it. Any absolutely positioned element can be locked in place with the Lock icon on the toolbar.