The PictureClip control stores multiple images that can be used by other Visual Basic controls. All images are contained in a single bitmap. Selected regions can then be 'clipped' from the bitmap and used with a PictureBox control to create animations, or with multiple PictureBox controls to create a toolbox, for instance.
The PictureClip control can be used with any control that assigns a Picture object to a Picture property, such as the PictureBox, Image, and CommandButton controls.
Storing multiple images in a single PictureClip control conserves Windows resources and speeds up retrieval of the images. The PictureClip control is similar to the ImageList control in this way; however, they differ in that all image resources in the PictureClip control must be contained in a single bitmap whereas the ImageList control is a collection of separate bitmaps.
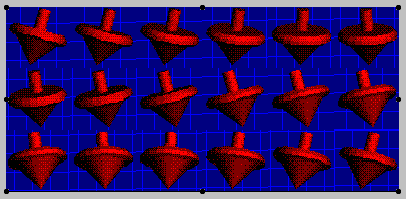
The first step in using a PictureClip control is creating the image resource bitmap. The PictureClip control only supports 16-color bitmap (.bmp) images. When creating a set of images, collect all the separate images and cut and paste them into a single bitmap, as shown below.
A PictureClip control containing a resource bitmap

Note You need to make sure that each image is the same size as the others so that when individual images are retrieved into a PictureBox control, for example, they fill the space uniformly. In the example above, each image of the spinning top is a square of equal size.
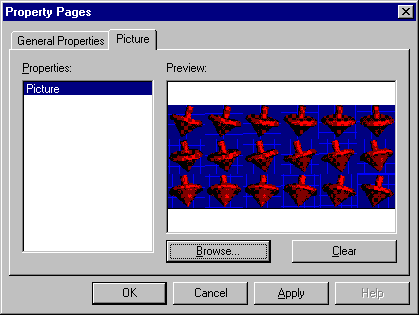
After creating an image resource bitmap, load it into the PictureClip control. The PictureClip control has a Property Pages dialog box which allows the bitmap to be loaded into the control and the grid set by specifying the number of columns and rows.
To load a resource bitmap into the PictureClip control at design time
Loading a resource bitmap into the PictureClip control

The resource image bitmap can also be loaded into the PictureClip control at run time using the Picture property, as in the following example:
PictureClip1.Picture = LoadPicture("c:\Program _
   Files\Microsoft Visual _
   Basic\Samples\PicClip\Redtop.bmp")
' If you have installed the Visual Basic sample applications, the PicClip
' project can be found in the \samples\VB98\ directory
Once you've created and loaded an image resource bitmap into the PictureClip control, you can determine how you want to retrieve each image.
You can randomly select any portion of the image resource bitmap as the clipping region using the ClipX and ClipY properties to determine the upper-left corner of the clipping region and the ClipHeight and ClipWidth properties to define the area of the clipping region. The Clip property then contains the clipped region.
You can divide the image resource bitmap into a specified number of rows and columns. The rows and columns create cells which can then be accessed using an index number. The cells are indexed beginning at 0 and increase from left to right and top to bottom using the GraphicCell property.
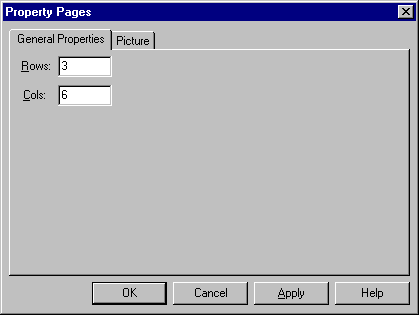
Using the Property Pages dialog box, you can set the number of rows and columns at design time. In the example above, there are 18 red top images divided into 3 rows and 6 columns.
To set the number of rows and columns at design time
Setting the number of rows and columns

You use the GraphicCell property to specify which cell in the image resource bitmap of the PictureClip control you want to load into a PictureBox control. The following example loads a single image (one cell) into a PictureBox control in the Form_Load event procedure:
Private Sub Form_Load()
   PictureClip1.Picture = LoadPicture("c:\Program _
      Files\Microsoft Visual _
      Basic\Samples\PicClip\Redtop.bmp")
   PictureClip1.Cols = 6
   PictureClip1.Rows = 3
   Picture1.ScaleMode = vbPixels
   Picture1.Picture = PictureClip1.GraphicCell(2)
End Sub
Note In Visual Basic, the default ScaleMode for forms and picture boxes is twips. Set ScaleMode to vbPixels for all controls that display pictures from a PictureClip control.
If you previously defined the numbers of rows and columns using the PictureClip Property Pages, you can simply load the image into the PictureBox control with the GraphicCell property. If not, you must specify the number of rows and columns by using the Cols and Rows properties. To use the GraphicCell property you must define at least one column and row.
The Redtop.vbp sample application, which is listed in the Samples directory, builds on some of the examples shown above and demonstrates how to create a simple animation using the PictureClip control.