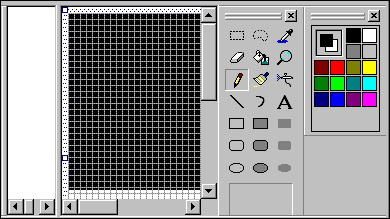
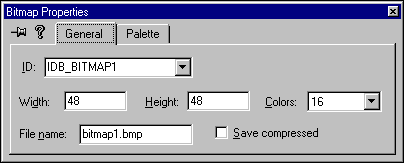
 To create a 4-color bitmap
The Visual C++ resource editors have been customized for Windows CE development, and include support for color images. Windows CE 2.0 supports 2 bits per pixel (2-bpp), 4 bits per pixel (4-bpp), and 8 bits per pixel (8-bpp) color devices, and can logically support 32 bits per pixel device-independent bitmaps (DIBs).
 To create a 4-color bitmap
In version 1.0 and version 1.01 of the Windows CE Toolkit for Visual C++ 5.0, color resources are converted to 4-color (2-bit, monochrome) during the linking process. Because version 2.0 of the Windows CE Toolkit for Visual C++ 5.0 supports 8-bit color, color resources do not have to be converted.
-or-
double-click Bitmap File.
-or-
when using version 1.0 or version 1.01 of the Windows CE Toolkit for Visual C++ 5.0, build your project by clicking Build from on the Build menu (or by clicking the Build button on the Visual Studio toolbar). The bitmap will be converted to 4-color (2-bit, monochrome) during the linking process.
 To create a 4-color icon
 To convert bitmap images between 4-color and standard formats


 To add the standard Windows CE font to a dialog box
 To create a scrollbar
-or-
double-click Dialog.
 To add a caption bar OK button to a dialog box
Tip Windows® NT uses 16x15 bitmaps on its button bars, while Windows CE uses 16x16 bitmaps. Adjust the image size to 16x16 when designing images for use on Windows CE button bars.