Adding a new menu is similar to adding new commands to existing menus.
Note This procedure assumes you have “pinned” the Menu Properties window so that it remains open.
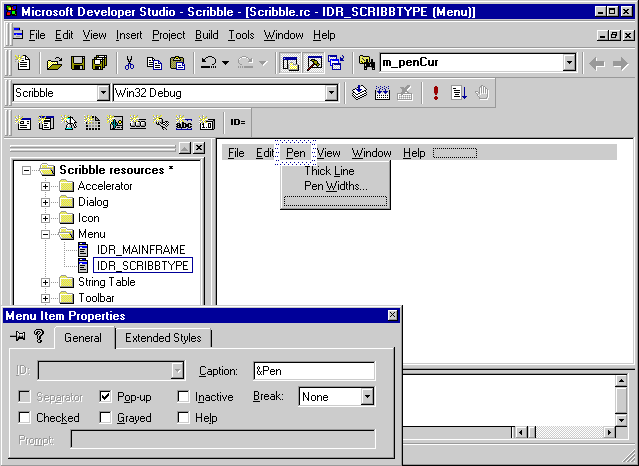
&Pen.The caption appears simultaneously in the cell and in the Caption edit box of the Menu Item Properties window.
Thick &Line.
Move your cursor to the ID box in the Menu Item Properties window. You’ll notice that Visual C++ created an ID for you, based on the menu name and the menu item name: ID_PEN_THICKLINE.
ID_PEN_THICK_OR_THIN.Toggles the line thickness between thin and thick
No default prompt string appeared because ID_PEN_THICK_OR_THIN is not a predefined command ID.
Pen &Widths....An ellipsis (. . .) included in a menu item’s caption lets the user know that selecting the item opens a dialog box or a cascading menu.
ID_PEN_WIDTHS.Sets the size of the thin and thick pen
The following figure shows the completed menu as it appears in the menu editor.
The Completed Pen Menu
Typically, at this point you would use ClassWizard or WizardBar to bind the menu commands to message-handler functions. That step is postponed until the next lesson in order to keep this lesson focused on constructing the user interface. If you like, you can skip ahead, perform the command-binding steps in Binding Visual Objects to Code Using WizardBar, and then return to this lesson to edit Scribble’s toolbar.