-
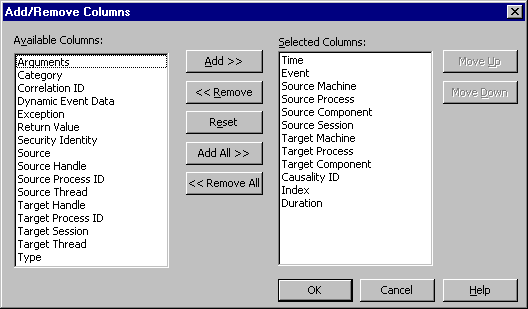
To add one column, double-click the column name in the Available Columns box. You can add multiple columns by selecting all the columns you want in the Available Columns box and clicking Add.
-
To remove one column, double-click the column name in the Selected Columns box. You can remove multiple columns by selecting all the columns you do not want in the Selected Columns box and clicking Remove.
-
To reset the columns in the view to the default, click Reset.
-
To add all the available columns to the Event List view, click Add All.
-
To remove all the columns from the Event List view, click Remove All.
- To reorder the columns, select the column you want to move in the Selected Columns box and click the Move Up and Move Down buttons.