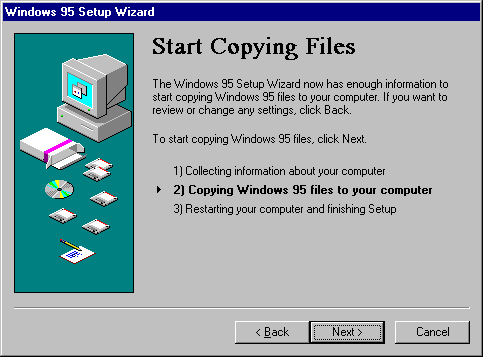
After hardware detection is complete and Windows 95 Setup has obtained all required information, the next phase of Windows 95 Setup begins. During this phase, the Windows 95 files are copied to the destination drive and directory.
MSBATCH.INF
[setup]
express=1
bypasses this screen

If you chose to have Windows 95 Setup create a startup disk, Setup asks you to insert a floppy disk into drive A. The disk does not need to be formatted or empty, but any information you have stored on the disk will be permanently deleted. After you insert the disk, click OK to create the startup disk. Windows 95 Setup formats the disk and copies the appropriate files.
When the basic installation steps are completed, Windows 95 Setup asks you to remove any disks from the floppy disk drives. After you click OK, the computer is restarted, and the final phase of the installation process begins, which includes converting Windows Program Manager groups and migrating various system configuration settings to the Registry.
Near the end of the installation process, Windows 95 Setup asks you to complete several configuration options. These configuration options are referred to as Run-Once options, because after you have completed the installation steps for these options, that particular set of activities is not repeated again when you choose the related option in Control Panel. Some Run-Once installation procedures are described in the following sections.
For more information about this phase, see Chapter 6, "Setup Technical Discussion."
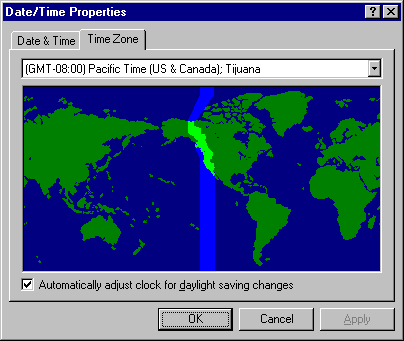
Setup prompts you to set the time zone for your location. This is an important step for network computers that need to keep time stamps synchronized.
– Or –
MSBATCH.INF
[install]
timezone=string
defines this option

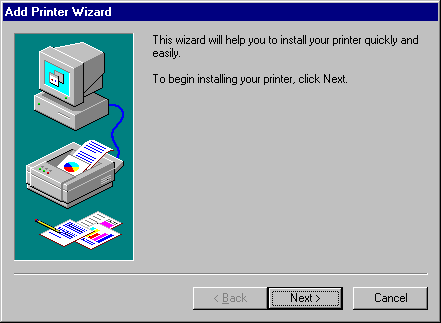
If you are installing Windows 95 in a new directory or on a computer that did not have a previous version of Windows, Windows 95 Setup automatically runs the Add Printer wizard the first time that Windows 95 is started after the basic installation is complete.
MSBATCH.INF
[Printers]
printer=driver,port
defines this option

– Or –
Click Cancel if you do not want to install a printer.
If you want to install or change a printer after Windows 95 is installed, double-click the Printers folder in My Computer. For information about installing and managing printers in Windows 95, see Chapter 23, "Printing and Fonts."
If you are installing Windows 95 in the same directory as an earlier version of Windows, then your previous printer configuration is incorporated into Windows 95 and the wizard for installing printers does not run during Setup.
During the final stages of Windows 95 Setup, the Inbox Setup wizard runs automatically if you selected Microsoft Exchange in the Select Components screen.
If the administrator has already created a postoffice, added users to it, and shared it with all users on the network, the postoffice name and location appear in the dialog box automatically without requiring you to type this information. This makes setting up the Microsoft Exchange client with the Microsoft Mail workgroup postoffice easy for all users in the workgroup. For information about setting up a Microsoft Mail workgroup postoffice, see Chapter 26, "Electronic Mail and Microsoft Exchange."
Depending on the options you selected during Setup, the hardware devices you have, or the computer you have, additional Run-Once options might need to be completed, such as the wizard for configuring MIDI devices. After all the Run-Once options are completed, all of the files are installed, and the computer is configured to run your applications.
For technical information about initializing the operating system at the completion of Setup and for a detailed description of the system startup process, see Chapter 6, "Setup Technical Discussion."