The Microsoft Exchange client maintains one or more separate profiles for each user. A profile contains default settings for how messages are delivered to and from a mailbox. Individual users create a profile when they run the Inbox Setup wizard for the first time. Other profiles can be added after running the wizard. The process of creating a profile is invisible to all but advanced users or network administrators.
With Microsoft Exchange profiles, several users, each with an individual set of preferences, can share the same computer to send and receive mail. A single user can also switch between profiles, for example, between one for the office and one for a remote site. If a user is connected to multiple service providers, a profile securely stores any required passwords, allowing the user to log on to multiple mail systems with one password.
The following illustration shows four profiles for three people sharing the same computer. One person has two profiles — one for use on the road and one for the office.

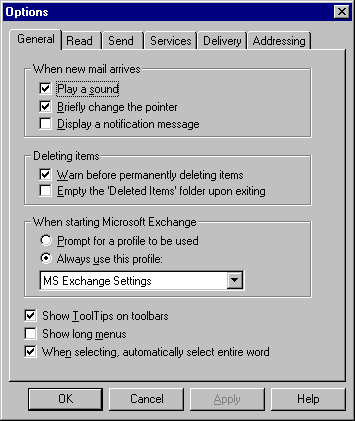
Users who share a computer, or who have multiple profiles, can select the profile to use when starting Windows 95.

Note To switch between profiles when running Microsoft Exchange, you must quit Microsoft Exchange and then choose a new profile when restarting.


Important Create only one postoffice for your workgroup, or your users will not be able to send mail to each other.
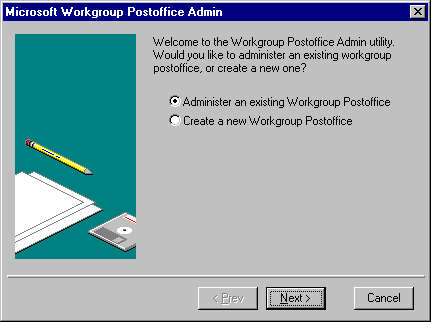
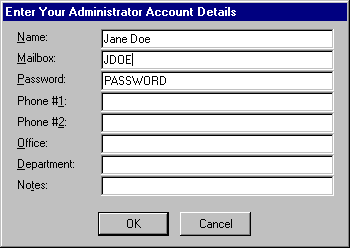
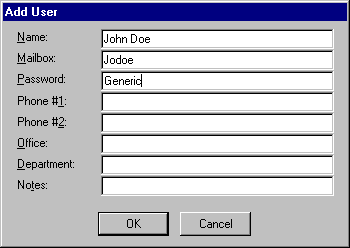
The Microsoft Workgroup Postoffice Admin wizard also allows you to manage the postoffice in the following ways:
The workgroup postoffice manager library, WGPOADMN.DLL, is the software component that supports administrative functions such as adding or deleting users and changing passwords.

To allow users within a workgroup to access the Microsoft Mail workgroup postoffice, you must share the directory where the postoffice resides. You can share the directory through Windows Explorer in the same way you share other resources.
– Or –
To restrict access to the postoffice by requiring a password, click Depends On Password, and then type a password in the Full-Access Password field.
For information about user-level security, see Chapter 14, "Security."
When you configure Microsoft Mail using the Inbox Setup wizard, the wizard prompts you for a password. You can then specify whether the Microsoft Exchange client should save the password and automatically enter it when you start mail. This means that someone else using your computer can access your mail. You can change your mailbox password and require that Microsoft Mail ask for your password each time you log on to Windows 95.
Note The proceding procedure is for users to change their mailbox passwords on the built-in Microsoft Mail workgroup postoffice. If you are using the Microsoft Exchange client with another electronic mail system, the exact procedure will vary.