To run the project, first make sure that you have saved subscrib.htm, backgnd.gif, and ppanim.ppz in the folder \wwwroot\project1, subscrib.htx and subscrib.idc in the \scripts\project1 folder, and subscrib.mdb in the folder \bookdata\project1. (Refer to Figure 6-3 for the folder structure.)
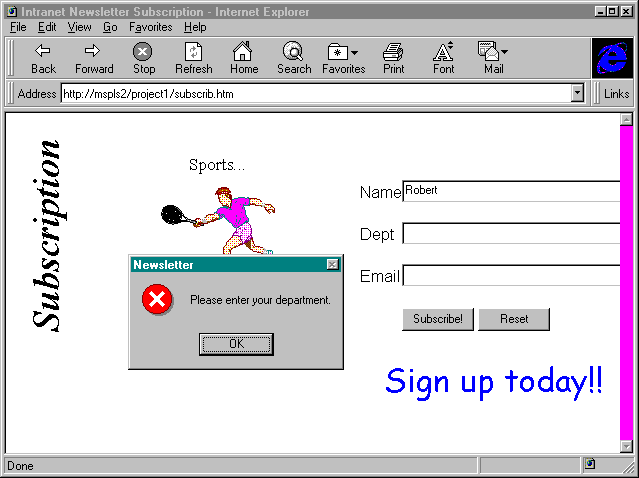
Once all of the files are placed in the proper folders, you can test the HTML subscription form by opening subscrib.htm in the Internet Explorer. Test the data validation routine for the subscription form by leaving the Department field blank. A message box should appear, prompting you to enter some data. Figure 6-19 shows a sample of the subscription form with the message box displayed.
Figure 6-19.
The subscription form demonstrating simple data validation.
After testing the validation procedure, fill in the form completely and submit it to the Internet Database Connector by clicking on the button on the form. If your code is correct, you will see a confirmation screen.
After you have tested the data entry routine, you can publish the newsletter, using the Visual Basic Publish application you created. Run the Publish application, and use the file controls to select a file for the newsletter. The newsletter can be any file that your mail system supports. Then simply click the Publish button. The Publish application mails the newsletter as an attachment to each subscriber in the database.
Figure 6-20 shows the Publish application as it appears after a newsletter has been published.
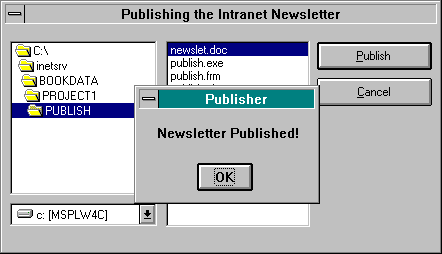
Figure 6-20.
The Publish application.
Figure 6-21 shows a sample of the email the subscribers will receive from the Publish application, as viewed in Microsoft Exchange. It shows the message that is received, along with an attached newsletter that was created in Microsoft Word.
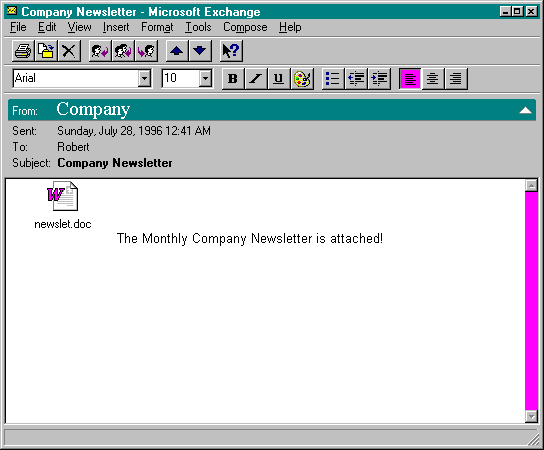
Figure 6-21.
The newsletter subscribers will receive from the Publish application as shown in Microsoft Exchange.