What we are going to do now is create our own ActiveX ADO bound data control that is based on the data class we developed earlier in this book. We will build it and compile it into an .OCX file that can be readily distributed to anyone - on disk or even over the Internet.
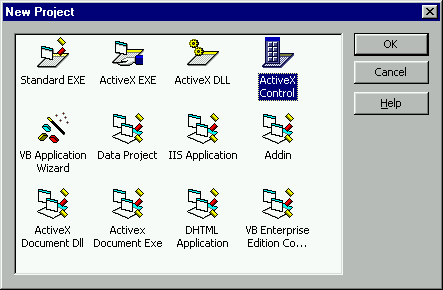
1. Start a new project. But this time, instead of selecting a Standard EXE, be sure to choose ActiveX Control as the project type, as in this screenshot:
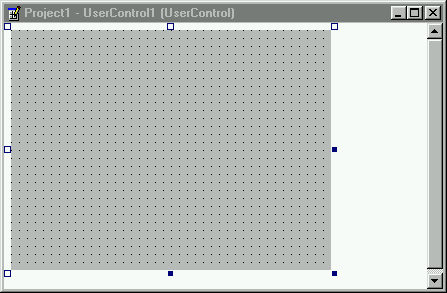
When you select this option, VB 6.0 places what is called an ActiveX designer form on the screen. While it looks like a standard form, it is actually the foundation for our new control:
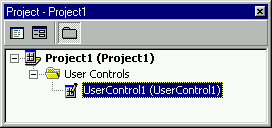
VB also creates a new Project Explorer file with an icon of an ActiveX control. There is also a single folder, User Controls, with a single UserControl designer added:
2. Click on the UserControl1 to give it focus and press F4 to bring up the Properties box. Change the name of UserControl1 to dbCtl. Save the new project as dataCtl.vbp. And when you are prompted to save the control, save it as dbCtl as well (keeping the name of the control and the file used to store it the same makes things easier to manage).
3. We will be using ADO recordsets within our control. So from the VB main menu, select Project-References. Again, be sure to choose the Microsoft ActiveX Data Objects 2.0 Library so our control has reference to this library:
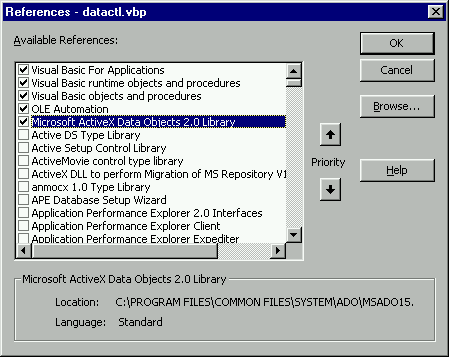
If we don't do this, our control won't know what an ADO recordset is.
OK, back to our control. In order to attach all the capabilities we need for this control, we want to create a control array of command buttons on the ActiveX Control designer form. This should be familiar to you from when we built our class module earlier in the book.
4. Draw a command button on your form (Oops! I mean designer) from the tool palette and change the name to cmdButton. Then highlight the button, copy it, and then paste it back to the designer form. You will be asked if you want to create a control array of cmdButton controls:

Click on Yes.
5. Repeat the button-copying process until you have nine cmdButtons on the form, numbered 0 through 8, and lay them out as shown. Then draw a label on the designer and name it lblControl. Change the label's caption so that it's blank, and set its BorderStyle to 1 – Fixed Single.
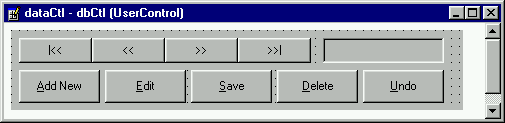
6. Set the Caption properties of the buttons according to the table below:
| Control | Caption Property |
| cmdButton(0) | |<< |
| cmdButton(1) | << |
| cmdButton(2) | >> |
| cmdButton(3) | >>| |
| cmdButton(4) | &Add New |
| cmdButton(5) | &Edit |
| cmdButton(6) | &Save |
| cmdButton(7) | &Delete |
| cmdButton(8) | &Undo |
7. When the buttons and the label are arranged, resize the designer as shown in the screenshot above. This will be the size of the control when a user (another programmer) draws it on a form. When we complete the control, it will actually show up as an icon in the programmer's tool palette right alongside the others.
Now we're going to write some code to enhance the control.
8. The control has a general area, just like a standard form. In the general area of the form, add the following code:
Option Explicit
'-- Default Property Values
Const m_def_connectionString = ""
Const m_def_recordSource = ""

'-- Property Variables. These will be read from the property bag
Dim m_connectionString As String
Dim m_recordSource As String
Dim m_form As Object        '—the form that hosts our control
Dim lTotalRecords As Long   '—holds the current number of records

'-- Keep our control a constant size --
Private Const m_def_Height = 80
Private Const m_def_Width = 452

'—Values for our navigation and editing buttons
Public Enum cmdButtons
  cmdMoveFirst = 0
  cmdMovePrevious = 1
  cmdMoveNext = 2
  cmdMoveLast = 3
  cmdAddNew = 4
  cmdEdit = 5
  cmdSave = 6
  cmdDelete = 7
  cmdUndo = 8
End Enum

'—Values for our current edit status
Private Enum editMode
  nowStatic = 0
  nowEditing = 1
  nowAdding = 2
End Enum

Dim editStatus As editMode


'Declare our object variables for the ADO connection
'and the recordset used in the control
Private adoConnection As ADODB.Connection
Private adoRecordset As ADODB.RecordSet
Public Event validateRecord(ByVal operation As String, ByRef cancel As Boolean)Controls are special animals in a few respects. First, they must remember certain properties. For example, in a standard project say you draw a button on a form and in design mode, you change the caption to "Hello". Well, when the program is run, we expect the caption to be there, right? There must be some way for a control to remember properties that are set during design time that will be remembered when the control is run.
Actually, as mentioned earlier in the book, controls are 'always' running. Yes, when you are in design mode, the controls you are using are actually running chunks of code. You set properties in design mode and then, when you run the program, the control saves the new property values, destroys itself, and reincarnates itself on the running form. When it springs to life in run mode, it reads the properties the programmer set and uses those instead of the default values. That's how a caption property, for example, will say "Hello" in run mode instead of the default "Command1". The control provides a means of saving those properties with something called a PropertyBag. We will examine this shortly.
Notice that when you draw a command button on a form, it has some default properties. For example, the default Caption is Command1. Likewise, for our own new bound data control, we must set some default properties. We will allow the user to specify a ConnectionString and RecordSource. So these two properties need default properties. The convention for control variables is m_ for member, def_ for default, followed by the name of the property:
'-- Default Property Values
Const m_def_connectionString = ""
Const m_def_recordSource = ""
When the user of our control sets these properties, the value gets assigned to working variables. These are named as m_variableName. This way we can differentiate between the default and working variable values:
'-- Property Variables. These will be read from the property bag
Dim m_connectionString As String
Dim m_recordSource As String
Dim m_form As Object      '—the form that hosts our control
Dim lTotalRecords As Long '—holds the current number of records
We will use the variable lTotalRecords to hold the number of records in the current recordset managed by our control. Since we will be using this variable often, for updating a label, it's much quicker to read a variable than to reference the RecordCount property of the ADO recordset.