The first thing you must do is install the free Microsoft Personal Web Server. If you have the Windows NT4 Option Pack CD you can install from there. If you haven't got the disk, you can get hold of PWS by logging on to Bill's homepage and downloading the PWS software from there:
1. Fire up your web browser of choice and go to the following URL:
http://www.microsoft.com/ie/sitemap
2. When the web page has loaded, click Downloads, and then click the Personal Web Server choice.
3. On the next screen, choose Personal Web Server 4.0 for Windows or NT 4.0 (Part of the NT 4.0 Options Pack). Click the Next button. The Microsoft Windows NT 4.0 Option Pack screen is then displayed. Yes, this is under Windows NT – go figure!
4. Click the Download button on the right hand side of the screen. The Windows NT 4.0 Option Pack screen is displayed. You will be asked to answer a few questions. There are two pages of questions. Once answered, press Next.
5. On the third page, you will be asked "Which components of the Windows NT 4.0 Option Pack do you intend to download today?" Check the box for "Microsoft Windows NT 4.0 Service Pack 3" and click the Finish button.
6. On the next page, the Windows NT 4.0 Option Pack page presents two options for downloading. Click Option 1. This will auto-install the software for you. Follow through the rest of the steps as directed.
Note: You will see " Reminder: The Windows NT 4.0 Option Pack requires Microsoft Internet Explorer 4.01 or later and Windows NT 4.0 Service Pack 3." Don't worry if you are running Windows 95/98. This is the right place. But be sure to download the latest version of the Internet Explorer – 4.01. Again, this is also free.
7. Be sure to remember the directory the
file is being downloaded to. It will take about 5 minutes or less. When the download is complete use the Windows File Explorer to find the file, download.exe
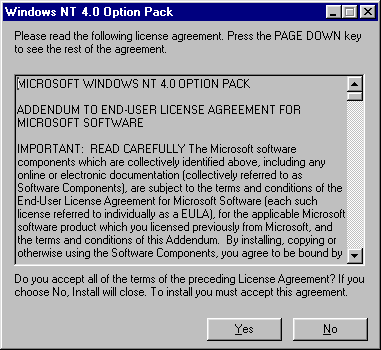
, and double click. Be sure to stay connected to the Internet. This is the program that will handle the automatic installation for you. When you double click, you will see the licensing screen:download.exe

8. Read the agreement and click OK. This will start the process.
The good news is that this great piece of software is free – the bad news is that it could take over 4 hours to download – this depends on the speed of your Internet connection. Also, if you have the NT4 Option Pack CD, you can install PWS directly from that. But the time spent is well worth the wait:
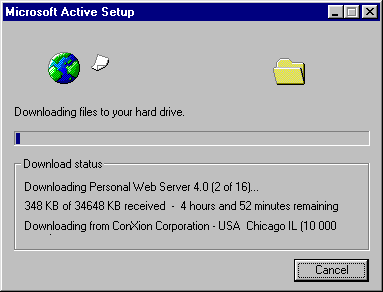
You might as well get a cup of coffee and read through the rest of the chapter while this is downloading. The set up will painlessly guide you through the process.
9. When all the installation files have downloaded, you'll be presented with the install screen shown below:
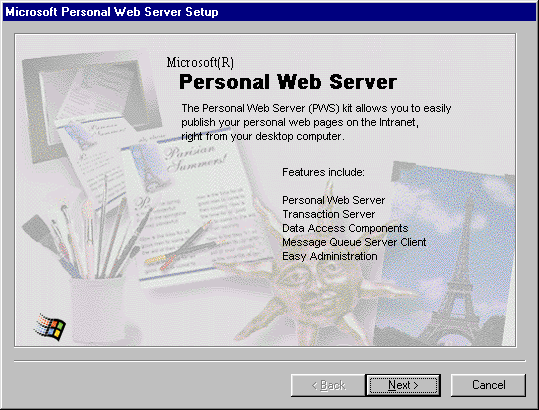
10. Simply follow the instructions on the screen and the software will install itself on your machine:
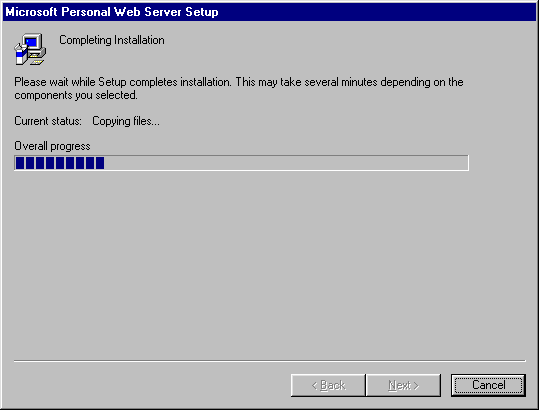
Depending on how your machine is set up, you may need to go through the following steps too:
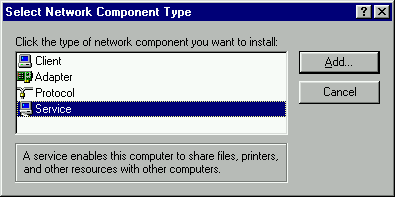
11. Go to Network in the Control Panel in Windows and press Add, select Service:
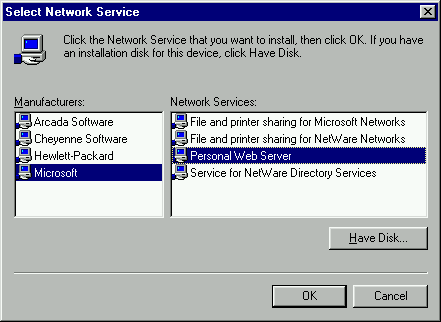
Press Add, select Microsoft from the Manufacturers column, double click on Personal Web Server, and press OK on the network control panel:
12. When the download is complete, all that is left is for us is to start up the Personal Web Server. The installation process will have added a new icon on your task bar – usually it will be next to the time display. Click on the icon (or start PWS up from Start | Programs, and the Main window for the server will be displayed. Press the Start button:
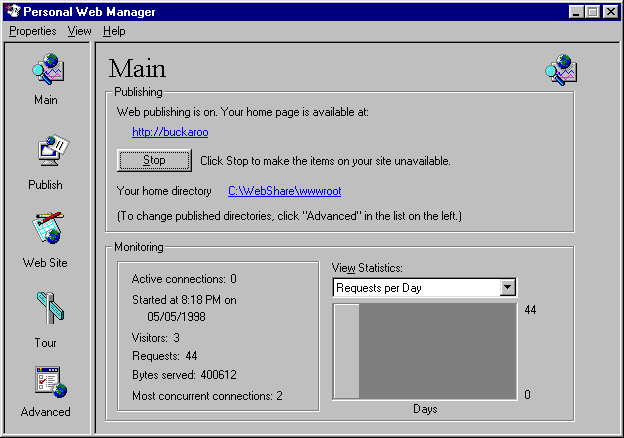
PWS will now allow you to publish ASP pages.
Notice that the name of your computer is available in the Publishing frame. My computer is named 'buckaroo', so my web site is
. However, if you don't have a dedicated Internet connection and use a dial up service such as AOL, Netcom, Mindscape, or some other Internet Service Provider, you are actually provided an Internet address each and every time you log on. Why? Because every computer connected to the Internet needs an address. However, each time you log on, the address is different. The network provider has a bunch of numbers reserved and issues you a new one each time you long on.http://buckaroo
This 32-bit number used for the address is given to you for the duration of your connection. If you are interested in seeing the number, simply run
from the Windows Start-Run box. This will bring up a handy utility showing the current Internet Provider (IP) address. You don't need to know it, but it's fun to see the connection. From it, I can see that my IP Address for the current session is 206.217.104.199. Now if you wish friends to log in to your computer over the Internet to test out the ASP pages on your PC, you can give them this IP address and they can access the ASP pages you create. They would simply put Winipcfg.exe
in their browser and would see your cool page from their machine. Of course, you have to check the IP address each and every time you log in because it will be different:http://206.217.104.199/myPage.asp
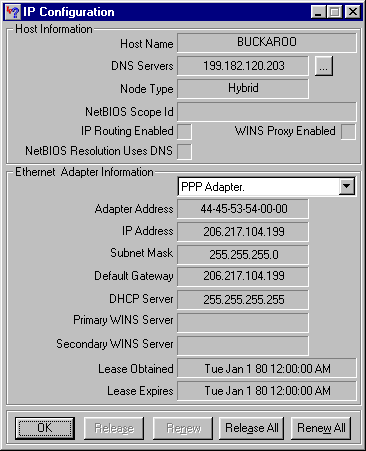
So you can see that by loading up PWS you are turning your PC into a server.