As a support professional, you know that the Internet is expanding the world of business and that the use of E-mail as a business communication tool is gradually replacing letters and memos sent through the regular mail. However, the basic E-mail format is pretty generic and lacks the luster of company stationery or letterhead with its logo and detailed contact information.
Fortunately, with the advent of HTML-based E-mail, you can now add that polished, professional look to your electronic business communications. All you need is Outlook Express and an HTML text editor.
In this article, we'll show you how to use an HTML text editor, like FrontPage, in combination with Outlook Express to create a custom template for HTML E-mail messages. You can use this technique to generate company stationery or letterhead for E-mail messages. You can then send the template to all the users on your network who regularly correspond with customers via HTML-based E-mail.
Outlook Express stationery
Outlook Express includes a set of templates for creating HTML E-mail messages. To access a template, first open Outlook Express, pull down the Compose menu, and select New Message Using. When you do, Outlook Express will display a submenu with several E-mail stationery templates. You can access more templates by selecting the More Stationery… command. (Outlook Express stores the stationery templates in the C:\Program Files\Common Files\Microsoft Shared\Stationery folder.)
These stationery templates are actually HTML documents with GIF images embedded in them. This means that you can easily create your own stationery templates using Outlook Express. If you want to include GIF images in your template, you'll need to use an HTML editor, such as FrontPage. Let's look first at creating a basic E-mail template. Then, we'll see how you can include images in your templates.
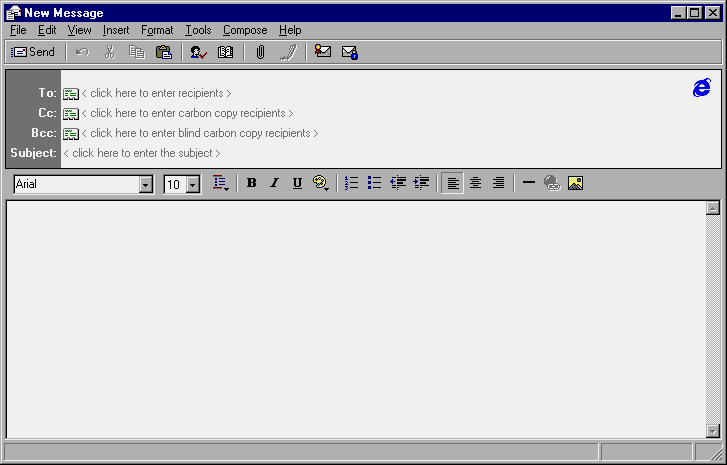
Creating a basic E-mail templateTo begin, open a new message by clicking the Compose Message button on the toolbar (you can also pull down the Compose menu and select the New Message command).When the New Message window, shown in Figure A, appears, type the text that you want to include in your letterhead and then use the buttons on the Formatting toolbar to change the font, font color, style, and/or size. You can also reposition the text and use the Insert Horizontal Line button to divide your letterhead from what will be the body of the message. Figure B shows a sample letterhead we created for the Windows 95 Professional journal.

Figure A: You'll use this New Message window to create your template.
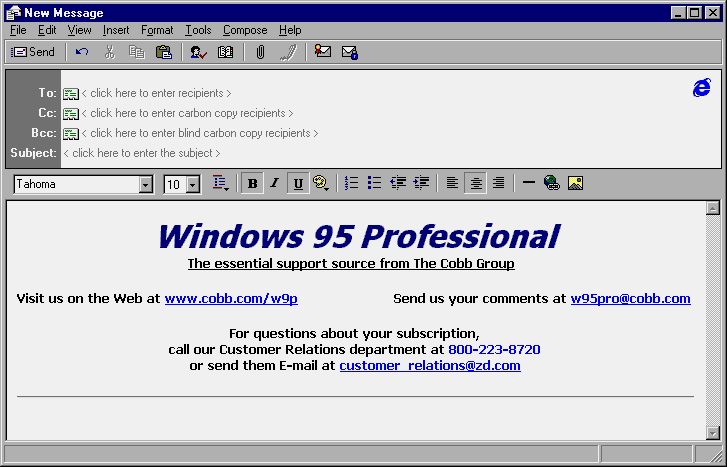
Figure B: You can create a custom letterhead like this.
Once you've added and formatted the text, pull down the File menu and select the Save As… command to display the Save Message As dialog box. Next, locate the Outlook Express Stationery folder (C:\Program Files\Common Files\Microsoft Shared\ Stationery), enter a filename, select HTML Files (*.htm,*html) from the Save as Type dropdown list, and click Save. Finally, close the message.
When you're ready to use your template, pull down the Compose menu and select the More Stationery… command from the New Message Using submenu. Then, just double-click your template in the resulting Open dialog box. The next time you want to use the template, you can simply select it from the top of the New Message Using submenu's history list.
There's only one drawback to using Outlook Express to create a template—it won't save a graphic image in the template. While you can click the Insert Picture button and insert a graphic image, it won't appear the next time you open the template. To create a template with a graphic image, you'll have to work with FrontPage or another HTML editor. Let's take a look at this process.
Creating a template with imagesTo create an HTML E-mail template with a graphic image in it, you first create a basic template in Outlook Express, as we explained earlier, and save it to the Stationery folder. Then, you locate and save the graphic image that you want to use in your HTML E-mail template to the Stationery folder. At this point, you need to launch your HTML editor and load your HTML E-mail template. (When you load the template into your editor, the text's positioning will more than likely disappear, but the fonts should remain intact. Simply reapply the positioning in your HTML editor.) Then, insert the images where you want them, just as you would when creating an HTML document.
For example, you might want to replace the title text in the sample letterhead we showed you in Figure B with a graphic logo, as shown in Figure C. To do so, you'd simply save the file in the Stationery folder, open FrontPage (or another HTML editor), and insert the graphic.
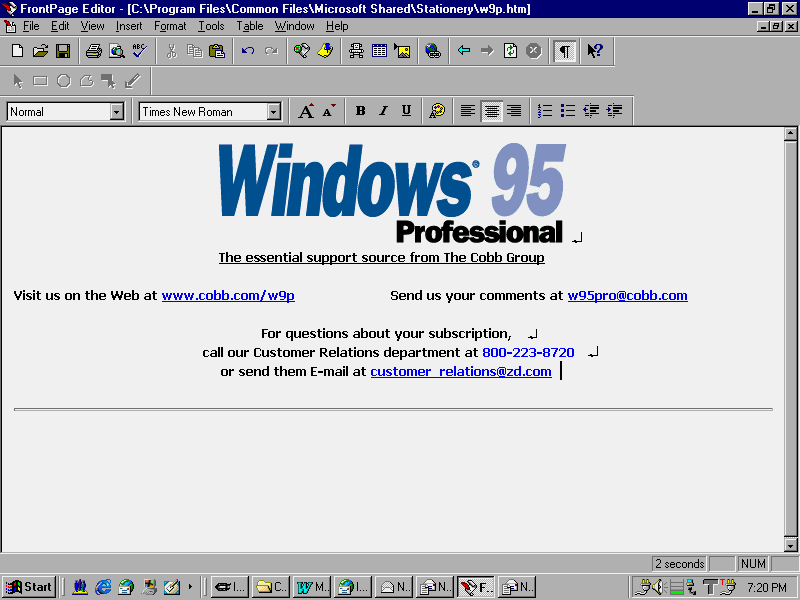
Figure C: You can replace the title text with a graphic logo.
Altering the body textBesides creating a header for your stationery, you may want to configure the format of the body text. As it stands now, the text in the body of your message will use Outlook Express' default font of Arial 10pt, as shown in Figure D.
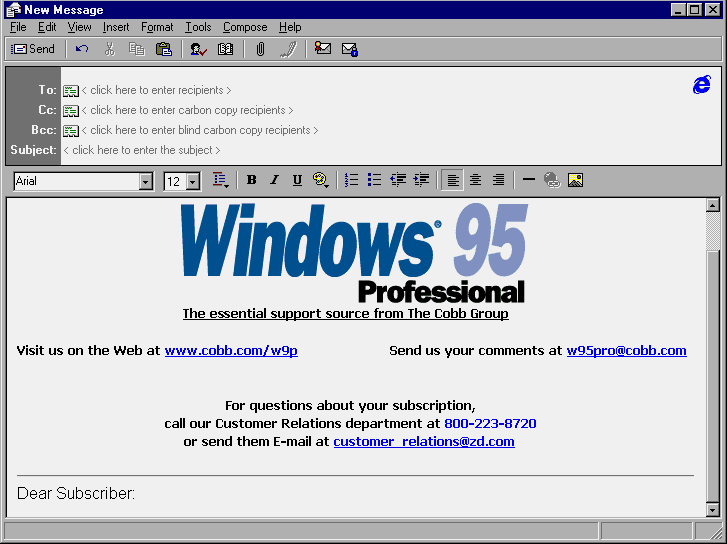
Figure D: Outlook Express will use its default font for the body text.
If you want to change this font, you'll need to include the <style> tag in your HTML document any place between the <head> and the </head> tags. For example, if you want your HTML E-mail template to use black, italicized 12-point Book Antiqua, as shown in Figure E, you'd insert the code
<style>
<!-
body {
font-family: "Book Antiqua";
font-size:   12pt;
font-weight:  italics;
color:    "#000000";
}
->
</style>
into your document
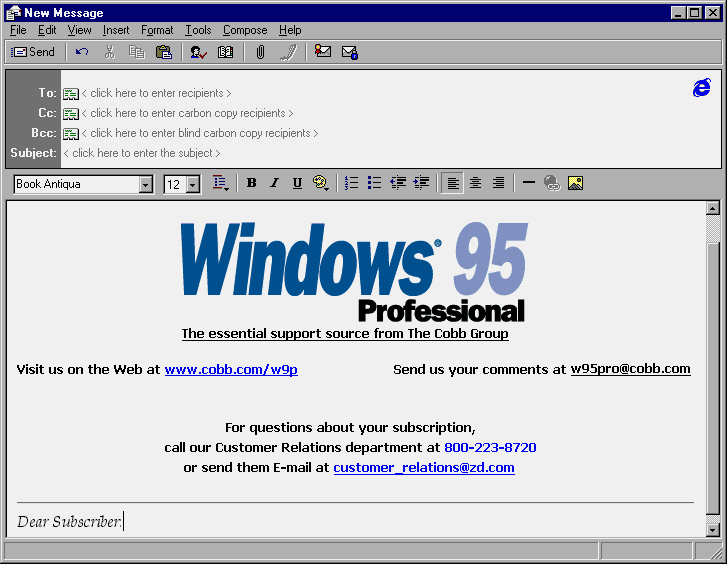
Figure E: Adding the <style> tag to your template makes the body text look more professional.
NotesThere are two things to keep in mind when you add the <style> tag to your HTML E-mail template. First, if you're using FrontPage or another HTML editor that's fussy about the way it handles the <style> tag, you're better off opening your HTML E-mail template in Notepad and adding the <style> tag manually, as shown in Figure F.
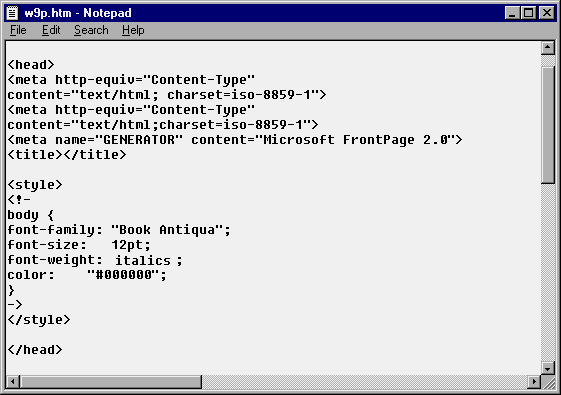
Figure F: If you're using FrontPage, you should add the <style> tag to your template from Notepad.
Second, when you add the <style> tag, it will change the font for all text in the message, including that in the header, that doesn't have a specific font assigned to it. If you want only the body text to use the font defined in the <style> tag, make sure that the text in the header has another font style assigned to it.
ConclusionThe basic E-mail format can't compare to the pizzazz of company letterhead. However, if you and your clients use an HTML-based E-mail program such as Outlook Express, you can add that polished, professional look to your electronic business communications with custom stationery templates. In this article, we've shown you how to create your own stationery templates for Outlook Express.
Copyright © 1998, ZD
Inc. All rights reserved. ZD Journals and the ZD Journals logo are trademarks of ZD
Inc. Reproduction in whole or in part in any form or medium without
express written permission of ZD Inc. is prohibited. All other product
names and logos are trademarks or registered trademarks of their
respective owners.