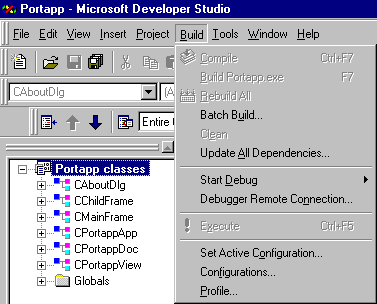
Once you have copied a project to a new platform, opening the project workspace reveals that the target platform is still set to the original platform. Although this is not obvious, you can tell this is so because the Build, Compile, and Execute options are grayed out in the Build menu, as shown in the following figure. Before you can build the application on the new platform, you must first specify one or more new configurations for the project on the new platform.
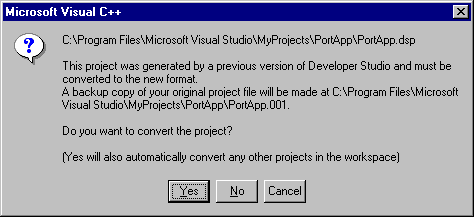
Note If you open a project created with a previous version of Developer Studio, you are prompted to convert the project to the current format, as shown in the following dialog box.
Figure 2.2 Convert Project to Current Format

To add new configurations on the new platform
Figure 2.3 New Configuration Needed
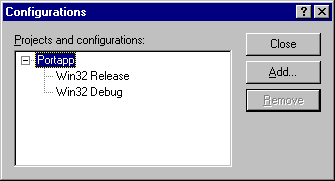
The targets for the project are displayed in the Configurations dialog box. The initial configurations are named Win32 Release and Win32 Debug. Although there is no indication that these are x86-specific configurations, they are, since this is the type of system on which the project was created.
Figure 2.4 Existing Project Targets
To create Debug and Release Alpha targets for this project, you create a new configuration while running the Alpha edition of Visual C++. When running the Alpha edition, the platform for a new configuration is assumed to be the current platform. For example, if you copy an x86 project to an Alpha system, and create a new configuration, the target platform can only be Alpha. You cannot specify another platform. This same behavior applies when moving projects between any two platforms.
To create a new project configuration
For example, for a release build, you might enter “Alpha <project name> Release.” For a debug build, you might enter “Alpha <project name> Debug.” The names do not matter, as long as they differ from existing configuration names.
Figure 2.5 Adding the New Project Configurations
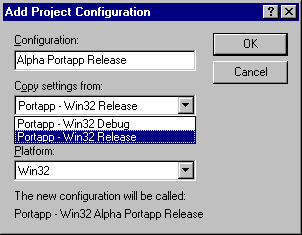
Usually, you will want to copy the settings from a similar configuration. For example, if this new configuration is a release configuration, you will usually copy settings from an existing release configuration.
Repeat the process as necessary to create as many configurations as you need.
Figure 2.6 Project Configuration Dialog Box Completed
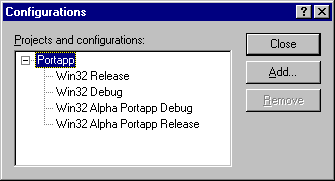
Note Once you are done creating the new configurations, it is a good idea to select the original configurations and click the Remove button to delete them. This can help avoid confusion in the future.
Your project is now configured for the Alpha platform.
Note If you omit this step, you might not be presented with project options appropriate to the Alpha platform when you Reset Project Options next.