Dave Mendlen
Microsoft Corporation
July 27, 1999
Click to view or copy the Simple ADOCE sample files.
Summary: This document will walk you through the creation of your first Microsoft® Windows® CE application written in Microsoft Visual Basic® and expects that you don’t have a Windows CE device yet. We’ll help you set up an emulation environment and get you up and building your first database application quickly. (24 printed pages)
Microsoft Windows CE is an operating system, developed from scratch, that is designed to be the basis for many radically different types of devices. The approach was to create a foundation of software building blocks that could be assembled in many different ways to create new devices. This means that if you wanted to build a device, you could pick and choose only those pieces you needed and keep the size of your software consistent with the size of your device.
Rather than create new tools and new interfaces for programmers to use in their applications, Windows CE uses a subset of the Microsoft Win32® application programming interface (API) that is used on Windows-based desktop and server computers. This ensures that programmers can use the same development tools, such as the Microsoft Visual C++® or Microsoft Visual Basic development systems, and communications protocols to create applications for Windows CE-powered devices.
Companies that build electronic devices today can standardize on this open Windows CE platform, making it easier to find people with development expertise in Windows, get them up and running on a project, and have them easily shift between projects when needed.
Reducing cost, eliminating bugs, and simplifying application deployment are of great concern to developers. The Windows CE Toolkits have several features designed to make this phase of application development as painless as possible including the Windows CE emulation environments, a rich graphical debugger, and automatic application deployment.
The Windows CE Toolkit for Visual Basic 6.0 consists of 4 related components:
The Windows CE Toolkit for Visual Basic 6.0 (VBCE) extends the Visual Basic 6.0 environment to accommodate the construction of Windows CE-based applications. It modifies the Visual Basic Integrated Development Environment (IDE) by limiting the functionality of Visual Basic to the features that are supported on the Windows CE device that you are targeting.
The Platform SDK provides the low-level APIs and additional tools to help you build Windows CE-based applications. The most important component in the SDK is a Windows CE emulator, which allows developers to test their Visual Basic applications without having a Windows CE device.
Windows CE Services is a software-based communication mechanism for transferring files between the PC and the Windows CE device. Windows CE Services runs on Windows 95, Windows 98, and Windows NT®. Even though you may not have a device, you still need Windows CE Services, as it is required for ADOCE.
ADOCE is a subset of the traditional ActiveX Data Objects that enable developers to create tables and to execute Structured Query Language (SQL) on the Windows CE device. It has a limited subset of the ADO that you use when developing traditional VB applications for Windows.
This document is designed to give you a head start on programming Visual Basic applications on Windows CE. It includes information on installing the various components and configuring the Visual Basic Integrated Development Environment and the Windows CE emulator to get you started building powerful Windows CE applications immediately.
This guide assumes that you DO NOT have a Windows CE device yet and explains how to set up a Windows CE emulator.
To use the Windows CE toolkit, you need
Note Windows NT is required for Windows CE Emulation.
This Getting Started guide uses the following special fonts:
Monospace This type represents text that you type or text as it appears onscreen.
Italics These are used to emphasize and introduce words, and to indicate variable names (identifiers), function names, class names, and structure names.
Bold This type indicates reserved keywords.
Keycap This type represents a particular key you should press on your keyboard. For example, “Press Del to erase the character.”
Key1+Key2 This indicates a command that requires you to press Key1 with Key2. For example, Shift+b (although not a command) indicates the uppercase letter “B.”
ALL CAPS This type represents disk directories, file names, and application names.
Menu|Choice This represents menu commands. Rather than use the phrase “choose the Print command from the File menu,” we’ll use the convention “choose File|Print.”
Before you can create Windows CE applications with Visual Basic, you need to install Visual Basic 6.0 (with Visual Studio® Service Pack 3 or later), Windows CE Services, and VBCE. If you want to take advantage of database functionality in the environment, you also need to install ADOCE. This chapter describes how to install the products you need. There is a recommended order for installing the products:
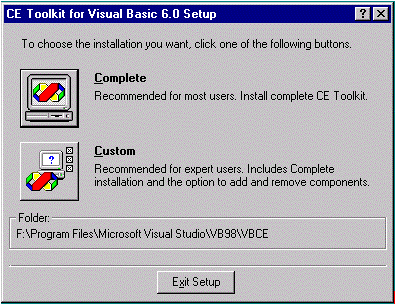
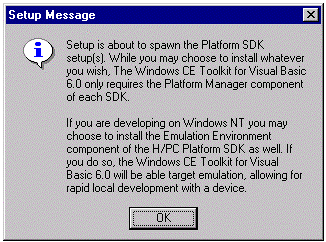
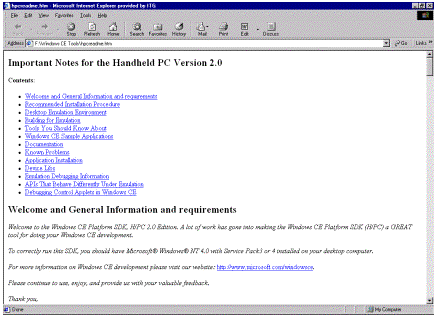
To install VBCE from CD, follow these steps:


Windows CE Services provides the utilities and applications necessary for your desktop machine to communicate with external Windows CE devices and the emulation environments.
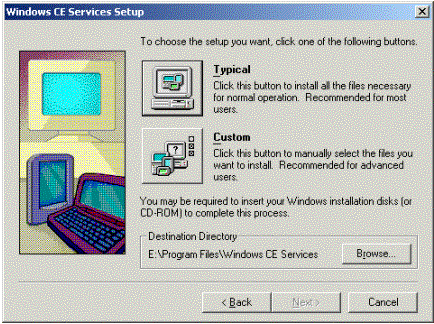
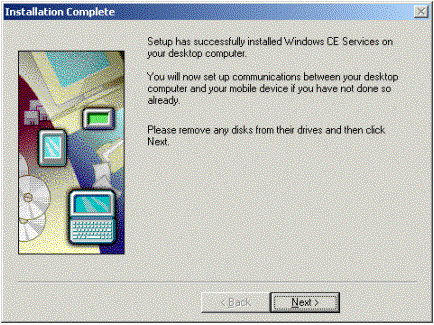

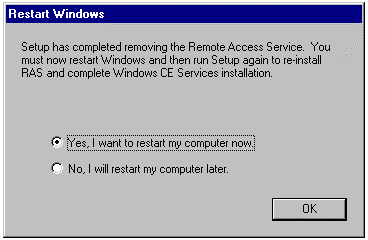


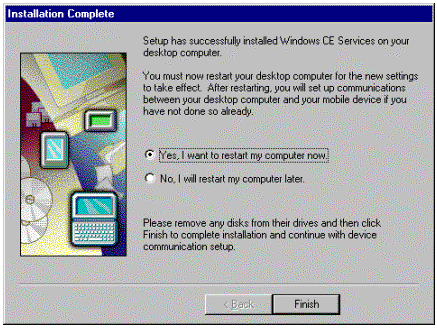
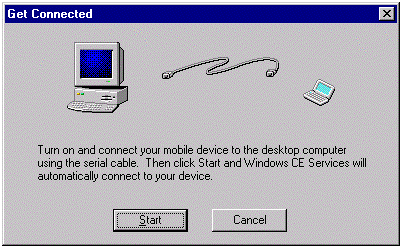
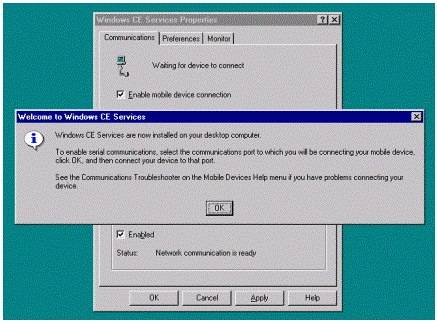
Upon completion, the install program creates a program group called Windows CE Services that includes icons for Windows CE Services Help, Release Notes, and a shortcut to the Mobile Devices folder. You can also find your new Mobile Devices folder under the My Computer icon.
If you plan on doing database access in your VBCE applications, you’ll need to install the ADOCE SDK. To install the ADOCE SDK from CD:


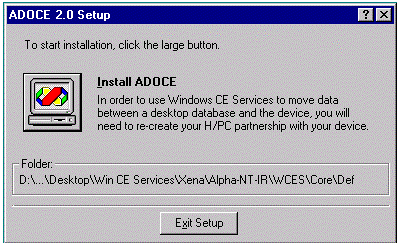

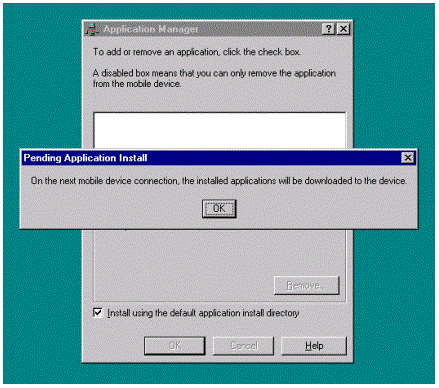

In order to get ADOCE to work properly, you need to update your Windows NT path.
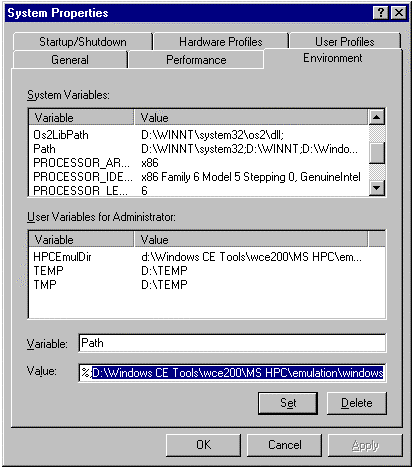
Highlight the Path System Variable in the list box at the top. You will see the current value for your Path in the Value textbox at the bottom. Move your cursor to the end of the current path and type the location of your \emulation\windows directory (see illustration above).
To use ADO in the emulation environment, you need to copy tables from a PC data source (we’ll use the Microsoft Access Northwind sample database) to the Windows CE emulation environment. Unfortunately, this is a manual process. However if you follow the steps outlined below, you’ll be programming against ADOCE in minutes.
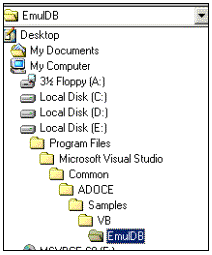
First, you need to run Visual Basic 6.0. Then File|Open the VBEMULDB.VBP project. See the picture below for the folder hierarchy where you will likely find the application:
Run the application (F5). Click the Select DB… button and navigate to the NWIND.MDB database that ships with the VBCE Toolkit. See the diagram below:
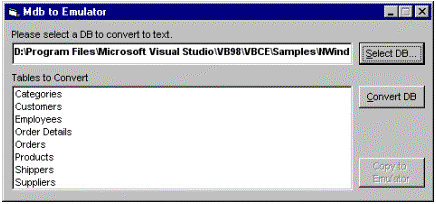
Click the Convert DB button. When you press the button, this application interrogates the structure of the database and creates a new file in the same directory as the NWIND.MDB called NWIND.TDB. The new file is made up of CREATE TABLE statements as well as INSERT statements. Later, we’ll use another Visual Basic application to execute these SQL statements to create the structures and insert the data on the Windows CE Emulation environment.
Click the Copy to Emulator button. If it works correctly, the emulator should launch. It will copy the NWIND.TDB file to the root of your emulated Windows CE environment, which is “\NWIND.TDB” Notice that there are no drive letters on the CE device. This step is copying the text file with all the SQL statements up to the Windows CE Emulator.
Note If the emulator doesn't launch, simply go to the command prompt and run the EMPFile application:

The format is empfile -c sourcefile.tdb WCE: destinationfile.tdb
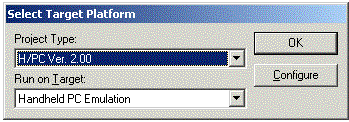
Close the VBEMUL.VBP project in Visual Basic 6.0. Open the EMUL.VBP project from the same directory in which you found VBEMUL.VBP. This application will run from within the emulated Windows CE environment. The application will execute the SQL statements in the NWIND.TDB file that was copied into the environment. When you open the project, you may be prompted with dialogs to specify the target platform (see dialogs below). Accept the defaults and click the OK button.

Run the application (F5). The Windows CE Emulator will launch in the upper left corner of your screen:
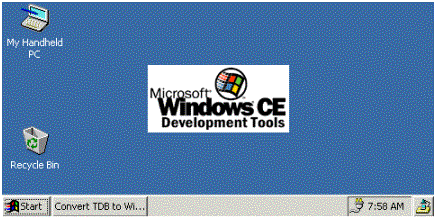
Shortly, the Visual Basic application will run inside that window. In the textbox at the top of the form type \NWIND.TDB and then click the Create Tables… button.
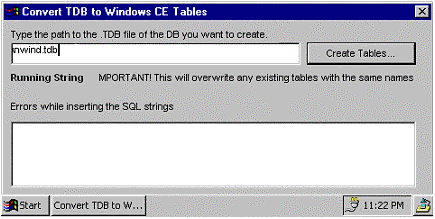
The application will then begin executing the Create Table statements, which will create tables in ADOCE on the emulator. It will also execute the Insert statements to populate the database with the data that was in the Access .MDB.
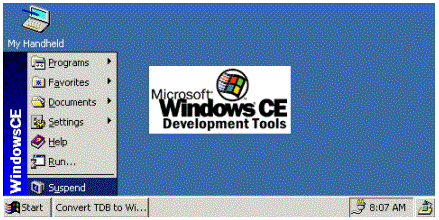
When you see the Message Box that states “Completed Processing,” you can close down the Windows CE Emulator by selecting Suspend from the Start menu in the emulator, not the Start menu from Windows NT. This stops the Visual Basic application.
VBCE provides you with the ability to develop database applications using ADOCE. It allows you to create, manipulate, and delete tables from within the VBCE environment. This is a subset of the full ADO (ActiveX Data Objects) that you may already be aware of. The two key objects that you will be working with are the Recordset and Field objects.
You will not be able to use ADOCE to get at the Pocket Office applications, like the appointments database. These applications are not yet accessible through ADOCE, but can be accessed using the Pocket Outlook Object Model (POOM) SDK, available on the Windows CE Tools Web site.
You need to have installed VBCE, the Platform SDK, Windows CE Services, and ADOCE. You also need to have tables copied into the emulator. For instructions on configuring your environment to make ADOCE work, see the earlier section on "Configuring the Environment."
The simple application that follows demonstrates how to retrieve a list of tables from the ADOCE database.
The following explains the steps taken to build your first VB database application:
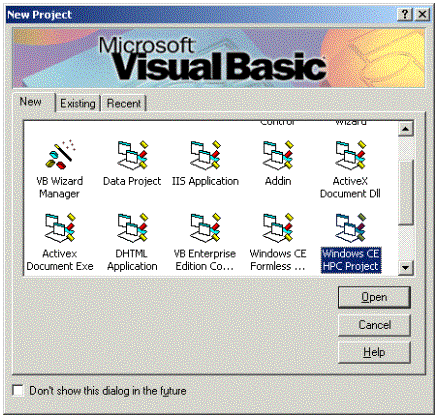
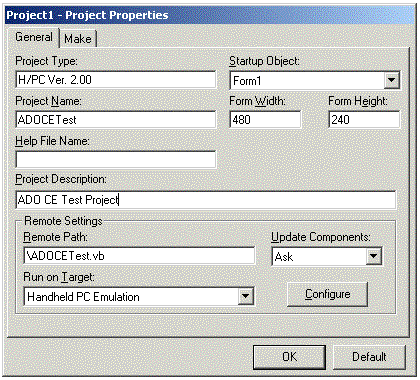
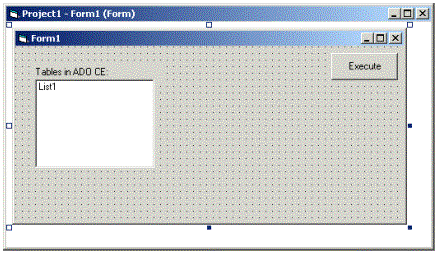

There is also a variable definition (mytablename) where we will store the value of the field returned from ADOCE.
Private Sub cmdExecute_Click()
Dim myobj As ADOCELib.ADOCERecordset
Dim mytablename As String
Set myobj = CreateObject("ADOCE.Recordset")
myobj.Source = "Select * from MsysTables"
myobj.Open
The next block of code checks to make sure the recordset is not empty.
If myobj.RecordCount = 0 Then
    Exit Sub
End If
This block of code will start looping through the recordset. We then assign the value of the TableName column to the mytablename variable. Finally, we add the value to the listbox.
Do Until myobj.EOF
    mytablename = myobj.Fields("TableName").Value
    'Check for nulls
    If mytablename <> "" Then
        'The Msys tables are system tables
        List1.AddItem mytablename
    End If
    myobj.MoveNext
Loop
The code listed in the next section contains the complete sample program. To compile and run the application you must perform the following steps:
Private Sub cmdExecute_Click()
    'Use early binding so that IntelliSense works against the
    'objects in the IDE. Notice that the variable declaration
    'and the CreateObject ProgID are slightly different. The
    'variable declaration gets converted to a variant at
    'compile/runtime.
    Dim myobj As ADOCELib.ADOCERecordset
    Dim mytablename As String
    Set myobj = CreateObject("ADOCE.Recordset")
    myobj.Source = "Select * from MsysTables"
    myobj.Open

    If myobj.RecordCount = 0 Then
        Exit Sub
    End If

    Do Until myobj.EOF
        mytablename = myobj.Fields("TableName").Value
        'Check for nulls
        If mytablename <> "" Then
            'The Msys tables are system tables
            List1.AddItem mytablename
        End If
        myobj.MoveNext
    Loop
End Sub
As you can see, it is very easy to develop powerful database-driven applications in Windows CE with Visual Basic. Although this application was a fairly simple ADO CE application, it should be easy to see how the application could be extended to build sophisticated mobile solutions that leverage corporate data that is synchronized with Oracle or SQL Server™ 7.0.
This section highlights the big differences that you will discover between building Visual Basic 6.0 Windows applications and using the Windows CE Toolkit for Visual Basic 6.0.
There are some limitations you should be aware of when designing your VBCE applications. First, you can only have one .BAS file for your entire VBCE project. Also, you cannot use class modules in a VBCE project. Finally, MDI forms do not exist on Windows CE. Remember that most Windows CE devices have very limited screen real estate.
As mentioned earlier, the actual code running on the Windows CE device and in the emulator is VB Script which only supports one datatype: variant. Therefore all variable declarations will lose any strong data typing when they execute.
In order to terminate an application in VBCE, you must invoke the End method of the application object: App.End
You cannot unload forms in VBCE. In order to create the illusion of a form being unloaded, you can use the hide method: Form1.Hide
The VBCE Toolkit does not support the ability to use traditional Error Handling in a VBCE application. You should use the:
On Error Resume Next
syntax to allow errors to fall through. You will then need to interrogate the err object periodically to determine if there were errors.
The VBCE Toolkit does not support the ability to create applications that use API calls.
One of the first things that you’ll notice when you start stepping through (F8) your first application is that the Windows CE Toolkit does not utilize the standard Visual Basic 6.0 debugger. See the diagram below to see the VBCE debugger.
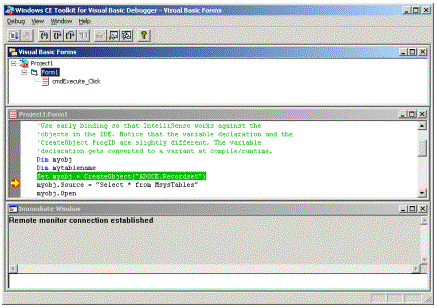
You will find that you can’t use the keywords DEBUG.PRINT because the debug object doesn’t exist in VBCE. However the rest of the debugging tools are very comparable to what Visual Basic provides.