Compile your completed code and try out the program.
To build and try Scribble Step 1
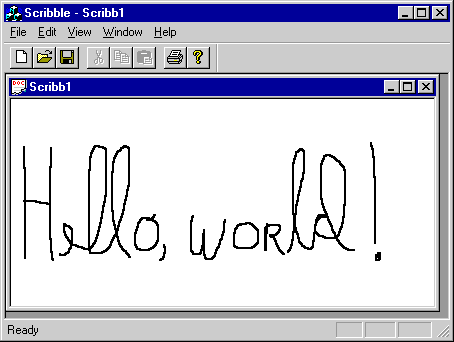
When Scribble runs, an MDI application window appears with a menu bar containing File, Edit, View, Window, and Help menus and a toolbar and status bar. It has one document window open as shown in the following figure.
Note Scribble may not build if there are errors, such as typos, in your code. Errors are reported in the Output window. By double-clicking an error in the Output window, you display the line where the error occurs in the text editor. Compare your code to the code in the sample directory or the tutorial text to discover where the error has occurred.
Scribble Step 1

Note Drawing on the printer device will show the strokes at a reduced size. This is because the current version of Scribble uses MM_TEXT mapping mode. Later in this tutorial, youíll use MM_LOENGLISH mapping mode to improve the printer output.
This concludes Step 1 of Scribble. Youíve seen how to implement the document with serialization code, and the view with message handling functions.